To hang a picture on a cinder block wall, use adhesive hooks or concrete screws for a secure and lasting attachment. Introducing a personal touch to your living space by hanging pictures on the walls can add warmth, character, and a touch of your own unique style.
However, if you have a cinder block wall, you might be wondering how to securely and effectively hang a picture without causing any damage. Luckily, there are a few methods you can use to do just that. We will explore the best techniques for hanging pictures on a cinder block wall, ensuring your precious photos or artwork remain safely displayed for all to enjoy.
Whether it’s using adhesive hooks or concrete screws, we will guide you step-by-step so you can showcase your favorite pictures with confidence.
Required Materials For Hanging A Picture On A Cinder Block Wall
When it comes to displaying artwork or photographs on a cinder block wall, it’s important to have the right tools and materials. With the proper equipment, you can easily hang your pictures securely and with a professional finish. Here are the essential materials you’ll need:
Picture hanger hooks
Picture hanger hooks are specifically designed to secure pictures to solid surfaces like cinder block walls. These hooks typically come with nails or screws that are strong enough to hold the weight of your picture. They often feature a hook or a loop where you can hang the wire or wire hanger on the back of your picture frame. So, make sure to have picture hanger hooks ready before starting the hanging process.
Drill
A drill is an essential tool for hanging a picture on a cinder block wall. You’ll need a drill with enough power to penetrate the dense material of the cinder block. It’s important to use a quality drill with a strong motor and a variable speed setting to ensure ease of use and accuracy during the drilling process.
Masonry drill bit
To create holes in a cinder block wall, you’ll need a masonry drill bit. Regular drill bits are not suitable for this type of material, as they may break or become dull. Masonry drill bits are specifically designed to penetrate hard surfaces like cinder blocks and concrete walls. Make sure the size of the drill bit matches the diameter of the anchor or screw you plan to use later.
Screws
Using screws is a popular method for hanging pictures on cinder block walls. Make sure to choose screws that are long and strong enough to securely hold your picture. It’s recommended to use screws with a thread diameter that matches the diameter of the anchors you plan to use, keeping in mind the weight of your picture frame.
Anchors
Anchor plugs are essential for providing extra support when hanging pictures on cinder block walls. They help to distribute the weight and prevent the screws from pulling out of the wall. Anchor plugs are available in various sizes and materials, including plastic and metal. Be sure to choose anchors that are compatible with cinder blocks and your screw size.
Level
Lastly, you’ll need a level to ensure your pictures are hung straight and evenly. A level is a simple yet indispensable tool that helps you achieve accurate alignment of your artwork. Place it against the top or bottom of your picture frame to ensure it is perfectly straight before marking the drilling points on the cinder block wall.
With these required materials on hand, you’ll be equipped to hang your pictures securely and efficiently on a cinder block wall. Now that you know what you need, let’s move on to the step-by-step process of hanging a picture on a cinder block wall.
Preparing The Cinder Block Wall For Hanging A Picture
When it comes to hanging a picture on a cinder block wall, proper preparation is crucial to ensure that your picture stays securely in place and that the wall remains undamaged. In this guide, we will walk you through the steps you need to take to prepare your cinder block wall for hanging a picture. From inspecting the wall for stability to cleaning the wall surface and determining the ideal location for your picture, we’ve got you covered.
Inspecting the wall for stability
Before hanging a picture on your cinder block wall, it is important to inspect the wall for stability. This step is crucial to prevent any accidents or damage to your picture and the wall. Here’s how you can inspect the wall:
- Examine the wall for any visible cracks or loose cinder blocks. These could indicate structural issues that need to be addressed before hanging your picture.
- Tap the wall lightly with your knuckles to listen for hollow sounds. Hollow sounds may indicate areas with weak or missing mortar, which can affect the wall’s stability.
- If you notice any concerning signs, it is advisable to consult a professional to assess the stability of your cinder block wall before proceeding with hanging the picture.
Cleaning the wall surface
To ensure a secure and long-lasting attachment of your picture to the cinder block wall, it is important to clean the wall surface beforehand. Follow these steps to clean the wall:
- Remove any dirt, dust, or debris from the wall using a soft brush or a vacuum cleaner with a brush attachment. This will ensure proper adhesion of hooks or nails to the surface.
- Use a mild detergent mixed with water to remove any grease or stains from the wall. Gently scrub the affected areas using a sponge or cloth.
- Rinse the wall with clean water to remove any soapy residue.
- Allow the wall to dry completely before proceeding with hanging your picture.
Determining the ideal location for the picture
Once you have inspected and cleaned your cinder block wall, it’s time to determine the ideal location for hanging your picture. Here are some tips to help you with this step:
- Consider the weight and size of your picture. Larger and heavier pictures may require additional support, such as multiple hooks or the use of picture-hanging hardware.
- Take into account the position and height at which you want to hang your picture. Make sure it is at eye level and visually balanced with the surrounding decor.
- Use a pencil to mark the desired location on the wall. Consider using a level to ensure that your picture will be straight.
- Before drilling any holes, hold the picture against the wall to get a visual sense of how it will look in the designated spot.
By following these steps and properly preparing your cinder block wall, you can ensure a secure and visually pleasing display of your picture. Now that you have prepared the wall, you can move on to the next steps of hanging your picture on a cinder block wall.
Choosing The Right Picture Hanger Hooks For Cinder Block Walls
When it comes to hanging a picture on a cinder block wall, it’s important to choose the right picture hanger hooks. These hooks will not only provide the necessary support for your artwork but also ensure that it stays securely in place. In this article, we will discuss the key factors to consider when selecting hooks for cinder block walls, including understanding their weight capacity, selecting hooks suitable for this specific type of wall, and considering their style and design.
Understanding the weight capacity of different hooks
One of the first things to consider when choosing picture hanger hooks for cinder block walls is their weight capacity. Different hooks are designed to support varying weights, and it’s crucial to select hooks that can handle the weight of your artwork. To determine the weight capacity of a specific hook, you can consult the manufacturer’s instructions or look for indications on the packaging.
When hanging heavier pieces, such as large paintings or mirrors, it’s important to choose hooks with a higher weight capacity. This ensures that the hooks can securely hold the weight without any risk of damaging the cinder block wall or causing the artwork to fall and potentially get damaged.
Selecting hooks suitable for cinder block walls
Not all picture hanger hooks are suitable for cinder block walls. These walls are made of solid concrete and require specially designed hooks that can penetrate and grip the surface securely. When selecting hooks for cinder block walls, look for options specifically labeled as suitable for concrete or masonry surfaces.
Typically, these hooks will have features such as specialized flanges, serrated hooks, or multiple nails designed to provide a strong hold on cinder block walls. It’s important to ensure that the hooks you choose are specifically designed for use on this type of surface to guarantee a secure and long-lasting installation.
Considering the style and design of the hooks
While the weight capacity and suitability for cinder block walls are essential factors to consider when selecting picture hanger hooks, it’s also important to think about the style and design of the hooks. The right hooks can enhance the overall aesthetic appeal of your artwork and complement your interior decor.
When it comes to style, hooks are available in various designs, such as traditional, modern, decorative, or minimalist. Consider the overall look and feel of the room where you plan to hang the picture and choose hooks that align with the existing decor or create a visually pleasing contrast.

Additionally, you may also want to consider using hooks with built-in hanging systems, such as adjustable hooks or ones that allow for easy leveling. These features can make the hanging process more convenient and ensure that your picture is perfectly aligned on your cinder block wall.
In conclusion, selecting the right picture hanger hooks is crucial for safely and securely hanging artwork on cinder block walls. By understanding the weight capacity of different hooks, choosing hooks suitable for cinder block walls, and considering the style and design of the hooks, you can ensure a successful and visually appealing display of your artwork.
Drilling Holes In The Cinder Block Wall
When it comes to hanging a picture on a cinder block wall, drilling holes is an essential step. By creating the right-sized pilot holes, you can ensure that the picture will be securely attached to the wall. Here are the simple steps you can follow to drill holes in a cinder block wall.
Measuring and marking the desired location for the picture
The first step in drilling holes in a cinder block wall is to determine the exact location where you want to hang your picture. Use a measuring tape to measure the height and width of the picture frame. Once you have the measurements, mark the desired location on the wall using a pencil.
To ensure the picture is centered and straight, use a level to double-check your markings. This will help you achieve a more visually pleasing result.
Using a masonry drill bit to create pilot holes
Once you have marked the desired location, it’s time to start drilling. To drill into the cinder block, you will need a masonry drill bit. A masonry drill bit is specifically designed to drill into hard materials like concrete, brick, and cinder blocks. It has a carbide tip that makes drilling through the tough surface easier.
Attach the masonry drill bit to your drill, making sure it is securely fastened. Position the drill bit on the marked spot and start drilling slowly. Apply firm but gentle pressure to avoid damaging the wall. The pilot holes should be slightly smaller than the diameter of the screws you plan to use to hang the picture.
Ensuring the holes are deep enough for the screws
After drilling the pilot holes, it’s important to check if they are deep enough for the screws to be securely inserted. You want the screws to be firmly anchored in the cinder block wall.
You can do a simple test by holding the picture against the wall and inserting a screw into one of the pilot holes. If the screw goes in easily and feels stable, then the hole is deep enough. However, if the screw doesn’t grip the wall tightly, you will need to drill the holes deeper.
Repeat the drilling process, gradually increasing the depth until the screws fit securely into the pilot holes. Take your time and be patient to achieve the desired result.
Inserting Anchors Into The Cinder Block Wall
Selecting the Appropriate Anchors for the Wall Material
Before you start hanging a picture on a cinder block wall, it’s essential to select the appropriate anchors for the wall material. Choosing the right anchors will ensure a secure and long-lasting installation.
The type of anchor you need depends on the weight of the picture and the condition of the cinder block wall. Here are some common anchor options:
| Anchor Type | Features |
|---|---|
| Masonry Screws | Durable and easy to install. Ideal for heavier pictures. |
| Masonry Wall Plugs | Simple and inexpensive. Suitable for lighter pictures. |
| Metal Anchors | Provide excellent support for heavy pictures. Requires drilling. |
Consider the weight of your picture and the size of the cinder block wall to determine the appropriate anchor type. It’s always better to choose anchors that are rated for a higher weight capacity than the actual weight of your picture.
Inserting Anchors into the Pilot Holes
Once you have selected the appropriate anchors, it’s time to insert them into the pilot holes. Pilot holes are small guide holes that help prevent concrete from cracking when inserting anchors. Follow these steps:
- Use a masonry drill bit that matches the size of the anchor.
- Drill a pilot hole into the cinder block wall at the desired location for the picture.
- Remove any dust or debris from the hole.
- Insert the anchor into the pilot hole.
- Using a hammer, gently tap the anchor until it is flush with the surface of the wall.
Inserting anchors into pilot holes ensures a secure fit and minimizes the risk of damage to the cinder block wall. It’s important to follow these steps carefully to achieve a strong and stable installation.
Ensuring the Anchors are Secure and Flush with the Wall Surface
After inserting the anchors, it’s crucial to check that they are secure and flush with the wall surface to ensure a stable and visually pleasing hanging of the picture.
To verify the anchors’ security, give them a gentle tug to ensure they are firmly in place. If any anchors feel loose, you may need to remove them and try a larger size or different type of anchor.
To ensure the anchors are flush with the wall surface, use a hammer or mallet to tap them gently. This step will prevent the anchors from sticking out and potentially causing the picture frame to sit unevenly against the wall.
By following these steps, you can confidently hang a picture on a cinder block wall, knowing that it is securely and aesthetically mounted.
Attaching Picture Hanger Hooks To The Cinder Block Wall
When it comes to hanging a picture on a cinder block wall, one of the most crucial steps is attaching the picture hanger hooks securely. These hooks will provide the necessary support to keep your artwork in place and ensure it stays securely on the wall. In this guide, we will walk you through the process of attaching picture hanger hooks to a cinder block wall, including aligning the hooks with the anchors, using screws to attach the hooks to the wall, and checking the stability of the hooks. Follow these steps to ensure your pictures stay put and add a touch of beauty to your space.
Aligning the hooks with the anchors
Before attaching the picture hanger hooks, it’s important to identify the location of the wall anchors. These anchors will provide the necessary stability for the hooks. Using a tape measure and a pencil, mark the spot on the cinder block wall where you want to hang your picture and where the anchors should be placed. Make sure to align the hooks with the anchors to ensure a secure attachment. Use a level to ensure the hooks are properly aligned horizontally and vertically.
Using screws to attach the hooks to the wall
With the hooks properly aligned, it’s time to attach them to the cinder block wall. Start by selecting the appropriate screws that are designed for masonry applications. These screws should be long enough to securely penetrate the cinder block without damaging it. Insert the screws into the pre-drilled holes in the hooks and carefully drive them into the wall using a screwdriver or a drill with a screwdriver bit. Use caution when driving the screws to avoid overtightening, which could damage the hooks or the wall.
Checking the stability of the hooks
After attaching the picture hanger hooks to the cinder block wall, it’s essential to check their stability. Gently tug on the hooks to ensure they are firmly anchored and can support the weight of your picture. If the hooks feel loose or unstable, remove the screws and adjust their positioning or try using longer screws for a more secure attachment. Stability is crucial to prevent your picture from falling and potentially causing damage or injury.
In conclusion, attaching picture hanger hooks to a cinder block wall is a process that requires proper alignment, secure attachment, and stability checks. By following these steps and using the right tools, you can hang your pictures with confidence. Remember to align the hooks with the anchors, use appropriate screws for masonry, and check the stability of the hooks before hanging your artwork. With this knowledge, you can showcase your pictures on any cinder block wall and create a visually stunning space.
Hanging The Picture On The Cinder Block Wall
Using a level to ensure the picture is straight
Before hanging the picture on a cinder block wall, it’s important to use a level to ensure that it will be perfectly straight. This step is crucial for achieving a visually appealing arrangement and preventing any imbalance.
Start by placing the picture against the wall at your desired height and position. Then, take a level and place it on top of the picture frame.
Adjust the position of the picture until the bubble in the level is centered. This indicates that the picture is perfectly straight. Take your time with this step, as it will greatly impact the overall look and feel of the hanging arrangement.
Hanging the picture on the hooks
Once you have ensured that the picture is straight, it’s time to hang it on the cinder block wall. You may choose to use hooks specifically designed for cinder block walls, which offer a strong and secure hold. Follow these steps to hang the picture:
- Place the hooks at the desired position on the wall, ensuring they are aligned properly.
- If the hooks require screws, use a screwdriver to secure them tightly into the cinder block.
- Once the hooks are in place, carefully lift the picture and hang it onto the hooks. Make sure the hooks are securely holding the weight of the picture.
By using appropriate hooks, you can ensure that your picture will stay in place for years to come, without causing any damage to the cinder block wall.
Making adjustments as needed
After hanging the picture, step back and take a look at the overall arrangement. Assess if any adjustments are needed to achieve the desired look.
If the picture is not centered or if its position is slightly off, take it off the hooks and make the necessary adjustments. Use the level again to ensure it is straight before hanging it back up.
Additionally, if the picture appears too low or too high, you can reposition the hooks accordingly. This will give you the flexibility to create a visually pleasing display that fits your preference.
Remember, taking the time to make these adjustments will ensure that your picture hangs perfectly on the cinder block wall, enhancing the aesthetic appeal of your space.
Troubleshooting And Tips For Hanging Pictures On Cinder Block Walls
Hanging pictures on cinder block walls can pose some challenges, but with the right techniques and a little creativity, you can turn your blank wall into a stunning gallery. In this section, we will discuss some common issues faced when hanging pictures on cinder block walls and provide you with troubleshooting tips to overcome them. Whether you’re dealing with uneven walls, securing larger or heavier pictures, or need to remove and reposition pictures without damaging the wall, we have got you covered. Read on to discover the solutions to these common problems.
Dealing with uneven walls
Uneven cinder block walls can make it challenging to hang pictures evenly and securely. Here are a few tips to help you deal with this issue:
- Use a leveling tool: Before hanging your picture, use a leveling tool to ensure it is straight. This will help you compensate for any unevenness in the wall.
- Adjustable picture hangers: Consider using adjustable picture hangers that allow you to fine-tune the height and position of the picture. This can help level out the picture and accommodate for any unevenness in the wall.
- Fill in gaps: If you have small gaps between the wall and the picture frame due to unevenness, you can use foam or cardboard shims to fill them in. This will create a more secure and visually pleasing display.
Securing larger or heavier pictures
When it comes to hanging larger or heavier pictures on cinder block walls, it is crucial to ensure they are securely fastened. Follow these tips to prevent your pictures from falling:
- Use wall anchors: Wall anchors provide extra support and stability for heavier pictures. Opt for anchors specifically designed for cinder block walls to ensure a secure hold.
- Choose sturdy hooks or brackets: Select hooks or brackets that are capable of supporting the weight of your picture. Look for options that have a high weight capacity and are suitable for cinder block walls.
- Distribute weight evenly: If you have a large picture, consider using multiple hooks or brackets to distribute the weight evenly. This will reduce the strain on individual fasteners and ensure a more secure mount.
Removing and repositioning pictures without damaging the wall
Want to change the arrangement of your pictures or simply remove a picture without causing damage to the cinder block wall? Follow these tips:
- Adhesive hooks: Use adhesive hooks instead of nails or screws to hang pictures. Adhesive hooks are easy to remove without leaving behind any marks or damage on the wall.
- Velcro mounting strips: Velcro mounting strips offer a non-permanent way to hang pictures. They adhere to both the wall and the back of the picture, allowing you to easily remove and reposition the picture without any wall damage.
- Patch small holes: If you do need to use nails or screws, make sure to patch up the holes properly once you remove the pictures. This can be done using a small amount of spackle or wall putty, followed by sanding and painting over the patched area to match the color of the wall.
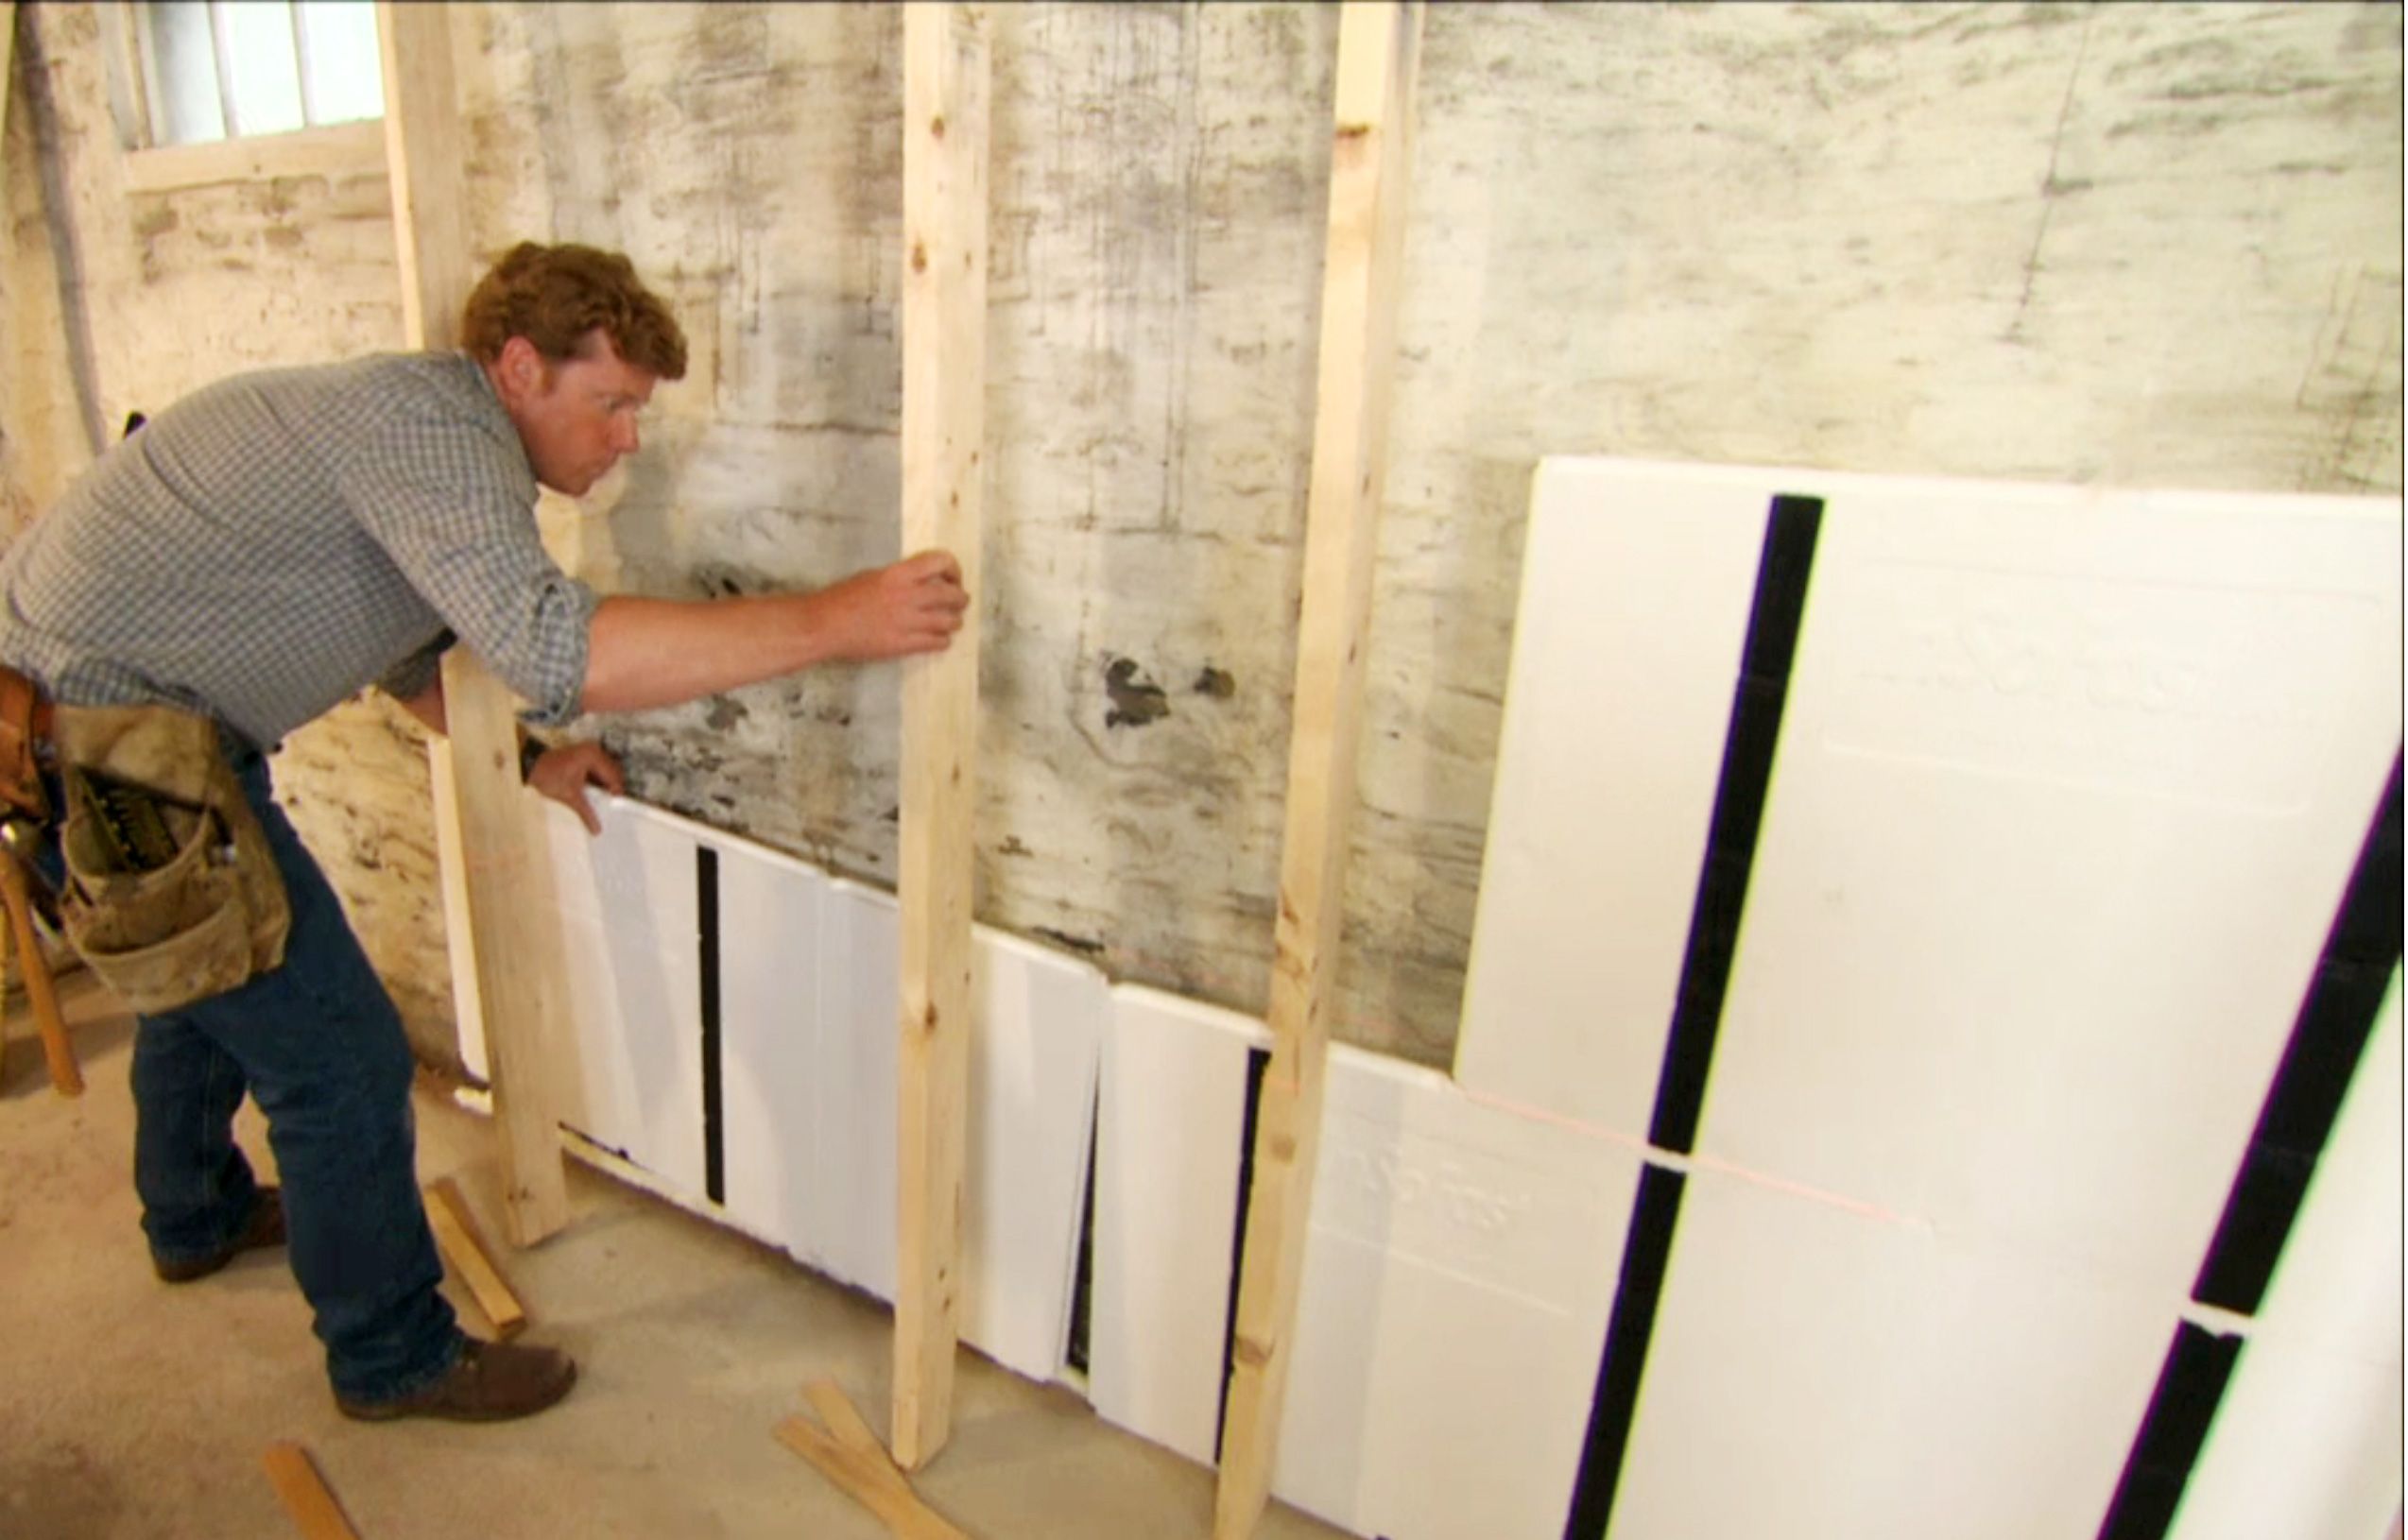
Credit: www.thisoldhouse.com
Frequently Asked Questions For How To Hang A Picture On Cinder Block Wall
What Can You Use To Hang Pictures On Cinder Block Walls?
You can use concrete screws or adhesive hooks to hang pictures on cinder block walls.
How Do You Hang Paintings On Cinder Block Walls?
To hang paintings on cinder block walls, follow these steps: 1. Use adhesive hooks or concrete screws to ensure a secure hold. 2. Clean the wall surface before attaching hooks or screws. 3. Measure and mark the desired hanging location for proper placement.
4. Drill holes and insert screws or apply adhesive hooks accordingly. 5. Hang the painting on the hooks or screws and ensure it is level.
What Is The Easiest Way To Hang Pictures On Concrete Walls?
The easiest way to hang pictures on concrete walls is by using adhesive hooks or stick-on picture hangers. Simply clean the wall surface, apply the adhesive hook, and hang your picture. No drills or nails are required, making it a quick and hassle-free option.
How Do You Hang Things On Outdoor Cinder Block Walls?
To hang things on outdoor cinder block walls, follow these steps: 1. Clean the surface with water and a stiff brush. 2. Choose a suitable anchor, like concrete screws or adhesive hooks. 3. Position the item on the wall and mark the anchor points.
4. Drill pilot holes and insert the anchors. 5. Attach the item securely using screws, hooks, or adhesive.
How Do You Hang A Picture On A Cinder Block Wall?
To hang a picture on a cinder block wall, you can use anchors specifically designed for masonry walls. Drill a hole, insert the anchor, and then use a screw to hang the picture securely.
Can You Hang Pictures Without Drilling On A Cinder Block Wall?
Yes, you can hang pictures on a cinder block wall without drilling. Use adhesive hooks or strips designed for use on cement or brick surfaces. Make sure to follow the manufacturer’s instructions for weight limits and proper installation.
What Is The Best Way To Hang A Heavy Picture On A Cinder Block Wall?
To hang a heavy picture on a cinder block wall, use concrete screws and a quality picture hanger. Drill holes into the cinder block, insert the concrete screws, and attach the hanger securely before hanging the picture.
Conclusion
To sum up, hanging a picture on a cinder block wall may seem like a daunting task, but with the right approach, it can be easily accomplished. By following these step-by-step instructions and using the appropriate tools, you can ensure that your picture is securely hung and enhances the aesthetics of your space.
Remember to consider the weight of the picture and choose the right hardware, while also taking into account the position and levelness. With these tips in mind, you can confidently display your artwork on any cinder block wall.
- How Much Does a Ford 9N Tractor Weigh - May 20, 2024
- How Many of My Exact Car were Made: Uncovering the Rarity - May 20, 2024
- How to Find Out What Someone Drives: Discover the Truth - May 20, 2024