To remove a John Deere tractor seat, unbolt it from the frame using a socket wrench. Pull the seat off gently to avoid damage.
Is your John Deere tractor seat in need of removal for maintenance or repair? Here, we will guide you on the simple process of removing the seat from your tractor. By following these clear steps, you will be able to safely and effectively detach the seat from the frame.
Let’s dive in and explore the straightforward method to remove a John Deere tractor seat with ease.

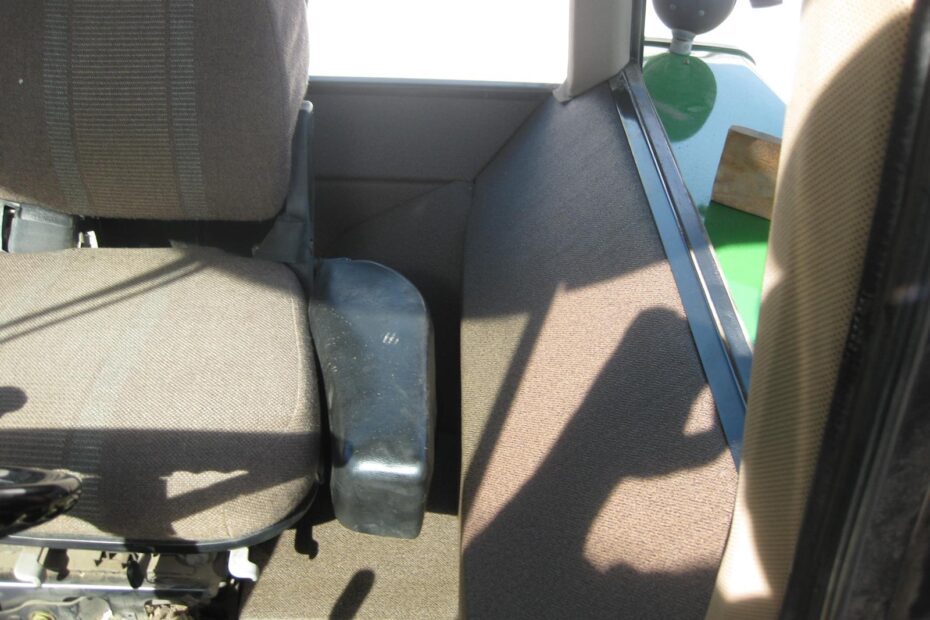
Credit: m.youtube.com
Preparing For Seat Removal
Before starting the process of removing the John Deere tractor seat, it’s essential to prepare for the task. Proper preparation will ensure a smooth and efficient removal process. This is particularly important to avoid damage to the seat or any other components. In this section, we will go through the necessary steps to prepare for removing the John Deere tractor seat.
Gather The Necessary Tools
When preparing to remove the John Deere tractor seat, it’s crucial to gather the required tools for the job. Having the right tools on hand will make the process much easier and prevent any unnecessary delays. Some of the essential tools for seat removal may include:
- Socket wrench set
- Adjustable wrench
- Screwdrivers
- Protective gloves
- Safety goggles
Disconnect The Battery
Prior to removing the seat, it’s important to disconnect the tractor’s battery. This safety measure helps prevent the risk of electrical shocks and ensures the safety of the individual performing the seat removal. To disconnect the battery, follow these steps:
- Locate the tractor’s battery.
- Use the appropriate size wrench to loosen the bolts on the battery terminals.
- Remove the negative (-) cable first, followed by the positive (+) cable.
- Once both cables are disconnected, secure them to prevent accidental reconnection.
Removing The Bolts And Screws

When it comes to removing the John Deere tractor seat, the first step is to tackle the bolts and screws securing it in place. This essential process involves locating and removing the seat bolts, as well as making sure any screws or clips holding the seat are taken out.
Locate And Remove The Seat Bolts
1. Start by locating the bolts securing the tractor seat.
2. Use the appropriate wrench to carefully remove each bolt.
Remove Any Screws Or Clips Holding The Seat In Place
1. Check for any screws or clips that may be keeping the seat attached.
2. Carefully remove these screws or clips to release the seat.
Remember to keep track of all the bolts and screws you remove to ensure you can easily reassemble the seat later. With the bolts and screws removed, you are now ready to proceed with the next steps in removing the John Deere tractor seat.
Lifting And Removing The Seat
Begin HTML contentLifting and Removing the Seat: When it comes to removing the John Deere tractor seat, the process can be straightforward if you follow these steps carefully.
Lift The Seat Off Its Mounting Brackets:
- Locate the bolts securing the seat to the mounting brackets.
- Use the appropriate tool to loosen and remove the bolts.
- Lift the seat carefully off the mounting brackets.
Place The Seat In A Safe Location:
- Choose a safe and secure location to place the seat.
- Ensure the area is clear of any obstacles or hazards.
- Set the seat down gently to avoid damage.
Inspecting And Cleaning
When it comes to maintaining your John Deere tractor, it’s essential to regularly inspect and clean the tractor seat to ensure proper functioning and longevity. By following these simple steps, you can easily remove the tractor seat, inspect it for any damage or wear, and thoroughly clean the mounting brackets and seat area.
Check The Seat For Any Damage Or Wear
- Examine the seat for cracks, tears, or any signs of wear and tear.
- Check for loose or damaged upholstery that may need to be repaired or replaced.
- Inspect the seat suspension and ensure it is functioning properly.
Clean The Mounting Brackets And Seat Area
- Remove any debris, dust, or dirt from the mounting brackets using a soft-bristled brush.
- Wipe down the seat area with a damp cloth to remove any built-up grime or residue.
- Apply a mild detergent solution to stubborn stains, and gently scrub the area with a soft brush.
- Rinse the seat area thoroughly with clean water and dry it using a clean, lint-free cloth.
Reinstalling The Seat

Reinstalling the seat of your John Deere tractor is a straightforward process that can be completed with a few simple steps. By aligning the seat with the mounting brackets and securing it with bolts and screws, you can ensure a safe and comfortable seating experience. In this guide, we will walk you through the process of reinstalling the seat, step-by-step, to make it as easy as possible for you.
Align The Seat With The Mounting Brackets
To begin the reinstallation process, carefully align the seat with the mounting brackets on your John Deere tractor. These brackets are typically located on the bottom of the seat and correspond with the attachment points on the tractor itself. Take your time to ensure that the seat is aligned properly, as this will prevent any fitting issues later on.
Secure The Seat By Tightening The Bolts And Screws
Once the seat is aligned correctly, it’s time to secure it in place. Locate the bolts and screws that were removed during the seat removal process and insert them through the corresponding holes on the mounting brackets. Use a wrench or screwdriver to tighten the bolts and screws, ensuring that they are snugly fit.
Ensure that each bolt and screw is tightened evenly, alternating between them to maintain a balanced fit. This will help prevent any wobbling or instability while operating the tractor. Double-check that all connections are properly secured before continuing.
By following these simple steps, you can successfully reinstall the seat of your John Deere tractor. Remember to align the seat with the mounting brackets and secure it tightly with bolts and screws. With these steps completed, you can enjoy a comfortable seating experience while operating your tractor.

Credit: west-equip.com

Credit: west-equip.com
Frequently Asked Questions Of How To Remove John Deere Tractor Seat
How Do You Unplug A John Deere Active Seat?
To unplug a John Deere active seat, locate the seat’s power cord connection underneath it. Disconnect the power cord from the seat and the corresponding power source to completely unplug it.
How Do You Adjust The Seat On A John Deere Tractor?
To adjust the seat on a John Deere tractor, locate the adjustment lever or knob beneath the seat. Pull or turn the lever to adjust the seat forward or backward based on your preference. Ensure the seat is securely locked in place before operating the tractor.
How Do You Adjust The Seat On A 5075e?
To adjust the seat on a 5075e, locate the seat adjustment lever and lift or lower as needed for comfort.
How Do You Pull Start A John Deere Tractor?
To pull start a John Deere tractor, firmly grasp the recoil starter handle and give it a quick, strong pull. Repeat as needed until the engine starts.
Conclusion
In just a few steps, you can easily remove your John Deere tractor seat. With the right tools and a systematic approach, the task is manageable for anyone. By following the tips provided in this blog post, you’ll have the seat off in no time, allowing for necessary maintenance or upgrades.
- How Much Does a Ford 9N Tractor Weigh - May 20, 2024
- How Many of My Exact Car were Made: Uncovering the Rarity - May 20, 2024
- How to Find Out What Someone Drives: Discover the Truth - May 20, 2024