Did you know that 60% of car owners prefer to do their own engine repairs instead of taking their vehicles to mechanics? If you're one of those DIY beginners venturing into the world of engine repair, then you've come to the right place.
Whether you're looking to save some money or simply enjoy the satisfaction of fixing things yourself, this discussion will provide you with the 9 best tips to get started on your engine repair journey.
From safety precautions to troubleshooting common problems, we've got you covered. So, buckle up and get ready to acquire the knowledge and skills needed to tackle engine repair like a pro.
Key Takeaways
- Disconnecting the battery before starting any repair work is an important safety precaution in DIY engine repair.
- Wearing appropriate protective gear such as gloves, safety glasses, and closed-toe shoes is crucial to ensure personal safety during engine repair.
- Having essential tools like a socket set, screwdriver set, pliers, torque wrench, and multimeter is important for beginners in engine repair.
- When on a budget, consider options such as basic hand tools, affordable alternatives to expensive specialty tools, and purchasing used tools to save money on engine repair tools.
Safety Precautions for DIY Engine Repair
Before you begin any DIY engine repair, it's crucial to prioritize safety precautions to ensure a smooth and accident-free process. Engine repair safety should always be the first consideration, as working with engines can be inherently dangerous if proper precautions aren't taken. To ensure your safety and the success of your DIY engine repair, there are several precautions you must follow.
First and foremost, make sure to disconnect the battery before starting any repair work. This will prevent any accidental electrical shocks or short circuits. Additionally, always wear appropriate protective gear such as gloves, safety glasses, and closed-toe shoes to protect yourself from any potential hazards.
Furthermore, it's important to work in a well-ventilated area to avoid inhaling harmful fumes. Gasoline, engine oil, and other chemicals used in engine repair can emit toxic gases, so ensure proper ventilation by opening windows or working in a garage with good airflow.
In addition to these precautions, always follow the manufacturer's instructions and recommendations for engine repair. Each engine may have specific safety guidelines and procedures that must be followed for optimal safety.
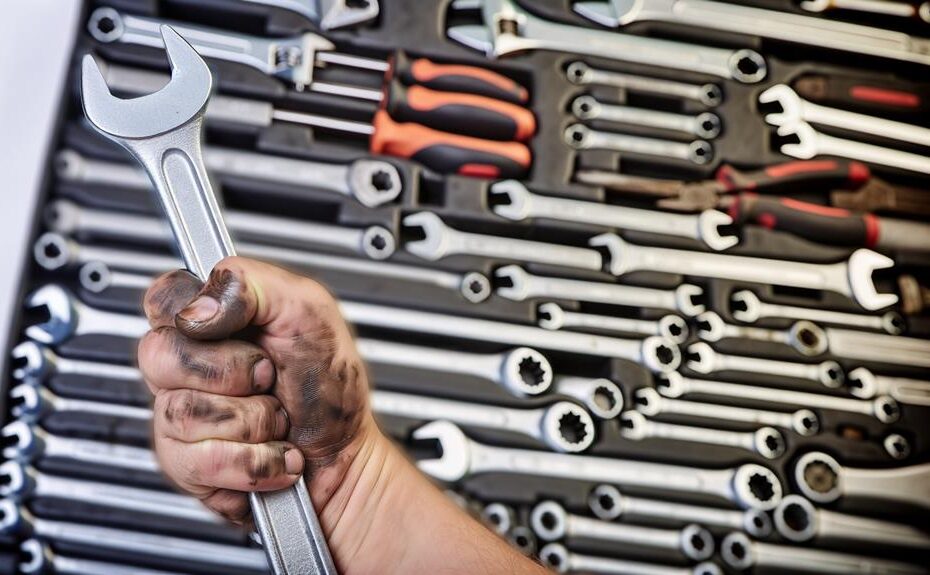
Essential Tools for Beginners in Engine Repair
When it comes to DIY engine repair, having the right tools is essential. As a beginner, it's important to invest in must-have tools that won't break the bank. Luckily, there are plenty of budget-friendly options available that will help you get the job done efficiently and effectively.
Must-Have Tools
To effectively perform engine repairs, beginners must possess a set of essential tools. These tools will enable you to tackle various tasks and ensure a smooth repair process. Here are some must-have tools for beginners in engine repair:
| Tool | Description |
|---|---|
| Socket Set | A versatile set of sockets and ratchets for tightening and loosening nuts and bolts. Look for brands like Craftsman or Snap-on for reliable quality. |
| Screwdriver Set | A set of different-sized screwdrivers for removing and installing screws. Brands like Stanley or Klein Tools are known for their durability. |
| Pliers | Pliers come in handy for gripping, bending, and cutting wires or holding small parts. Look for brands like Channellock or Knipex for sturdy and reliable pliers. |
| Torque Wrench | A torque wrench is essential for accurately tightening bolts to the manufacturer's specifications. Brands like Tekton or CDI offer reliable and affordable options. |
| Multimeter | A multimeter is used to measure voltage, resistance, and continuity. Brands like Fluke or Klein Tools are known for their accurate and reliable multimeters. |
Having these essential tools in your arsenal will empower you to take on engine repairs with confidence. To further enhance your skills, consider watching online tutorials from trusted sources to gain valuable knowledge and insights. Remember, the right tools and knowledge are the keys to successful DIY engine repairs.
Budget-Friendly Options
Investing in quality tools doesn't have to break the bank – there are budget-friendly options available for beginners in engine repair. When starting your DIY journey, consider these affordable alternatives and cost-effective solutions:
- Basic Hand Tools: Look for tool sets that offer a variety of commonly used tools like wrenches, sockets, and screwdrivers. These sets usually come at a lower price point and provide all the essentials for engine repair.
- Specialized Tools: Instead of splurging on expensive specialty tools, opt for more affordable alternatives. For example, a cheap compression tester can provide accurate readings without breaking the bank.
- Used Tools: Don't shy away from purchasing used tools. Many reputable sellers offer high-quality, pre-owned tools at a fraction of the cost. Just ensure that the tools are in good condition and suitable for your specific needs.
Understanding the Basic Components of an Engine
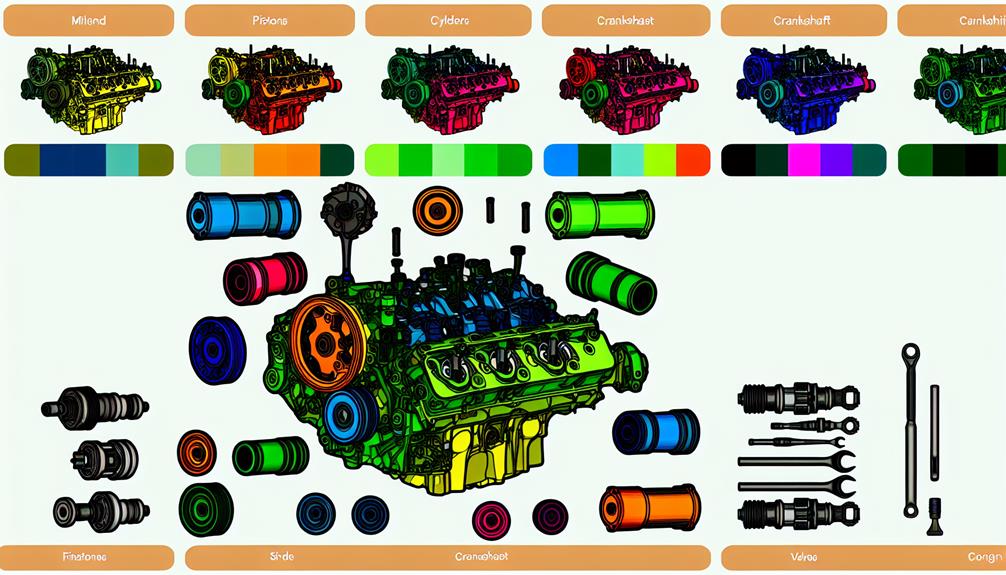
Understanding the basic components of an engine is crucial for anyone interested in DIY engine repair. By having a solid understanding of how an engine works and the function of each component, you can confidently perform basic engine maintenance and even tackle common engine repairs. To help you grasp the fundamentals, let's take a closer look at the key components that make up an engine.
| Component | Function | Common Issues |
|---|---|---|
| Cylinder | Houses the piston and combustion process | Leaking compression, worn piston rings |
| Piston | Moves up and down within the cylinder | Scuffed or damaged skirt, worn rings |
| Crankshaft | Converts linear motion into rotational | Bent or twisted, worn main bearings |
| Camshaft | Controls the opening and closing of valves | Worn lobes, broken timing belt |
These are just a few of the many components that work together to power your engine. Understanding their function and potential issues will empower you to diagnose and fix problems that may arise. Remember, always consult your vehicle's manual and take proper safety precautions when working on your engine. With knowledge and the right tools, you can confidently embark on DIY engine repair projects and liberate yourself from expensive mechanic bills.
Troubleshooting Common Engine Problems
If you're experiencing issues with your engine, diagnosing common problems is the first step towards finding a solution. Troubleshooting engine problems can be a daunting task, but with the right knowledge and tools, you can save time and money by fixing the issue yourself.
Here are some common engine problems and how to troubleshoot them:
- Engine Misfires:
- Check for spark plug issues: Inspect the spark plugs for wear, fouling, or damage. Replace if necessary.
- Inspect the ignition system: Check the ignition coils, wires, and distributor for any faults or malfunctions. Replace as needed.
- Check the fuel injectors: Clean or replace clogged or malfunctioning fuel injectors to ensure proper fuel delivery.
- Fuel System Issues:
- Check the fuel pump: Test the fuel pump pressure to ensure it's within the manufacturer's specifications. Replace if necessary.
- Inspect the fuel filter: A clogged fuel filter can restrict fuel flow, leading to engine performance issues. Replace if needed.
- Check the fuel injectors: Ensure the fuel injectors are clean and functioning correctly. Clean or replace as required.
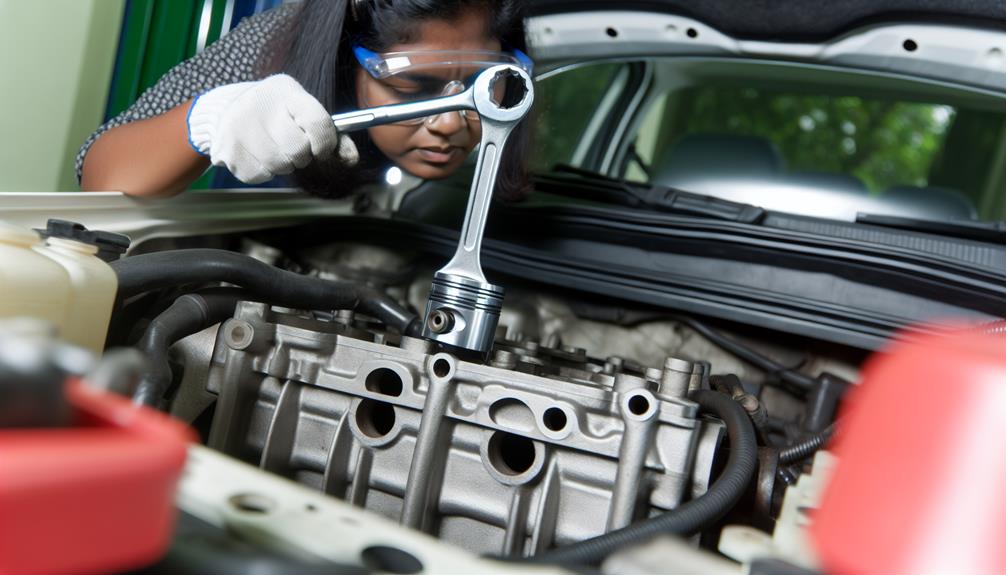
Step-By-Step Guide to Changing Engine Oil

Are you ready to learn how to change your engine oil like a pro?
Let's start by gathering the necessary tools for the job, such as a wrench, oil filter wrench, and a drain pan.
Once you have everything you need, we'll walk you through the step-by-step process of draining the old oil and properly disposing of it.
Tools Needed for Oil Change
To successfully change your engine oil, gather the necessary tools for the job. Here are the essential tools you'll need:
- Oil filter wrench: This specialized tool will help you remove the old oil filter and install a new one with ease.
- Oil drain pan: This pan is designed to catch the old oil as it drains from the engine, preventing any mess or environmental contamination.
- Socket set: A set of sockets and a ratchet will come in handy for removing the drain plug and other components during the oil change process.
Steps to Drain Oil
To begin the process of draining the oil from your engine, locate the oil drain plug using a socket set. The oil drain plug is usually located on the bottom of the engine, towards the front. Once you have located the plug, place an oil drain pan underneath it to catch the oil. Use the socket set to loosen the plug and then remove it by hand. Allow the oil to drain completely into the pan. While the oil is draining, it is a good time to inspect the drain plug for any damage or wear. Once the oil has finished draining, clean the drain plug and reinstall it. Now you can move on to the next step in the oil change process.
| Step | Process |
|---|---|
| 1 | Locate the oil drain plug using a socket set |
| 2 | Place an oil drain pan underneath the plug |
| 3 | Loosen and remove the drain plug |
| 4 | Allow the oil to drain completely |
| 5 | Inspect the drain plug for damage or wear |
Proper Disposal of Oil
After successfully draining the oil from your engine and inspecting the drain plug, it's crucial to understand the proper disposal methods for the used oil. Improper disposal of oil can have serious environmental consequences and may also violate disposal regulations.
To ensure that you dispose of the used oil responsibly, follow these steps:
- Check local regulations: Before disposing of the used oil, familiarize yourself with the disposal regulations in your area. Different jurisdictions may have specific guidelines that you need to follow.
- Store in a leak-proof container: Transfer the used oil into a sturdy, leak-proof container. Make sure the container is properly sealed to prevent any spills or leaks during transportation.
- Take it to a recycling center: Find a local recycling center or an approved oil collection facility. These facilities have the necessary infrastructure to properly handle and recycle used oil, minimizing its environmental impact.
Tips for Replacing Spark Plugs in Your Car
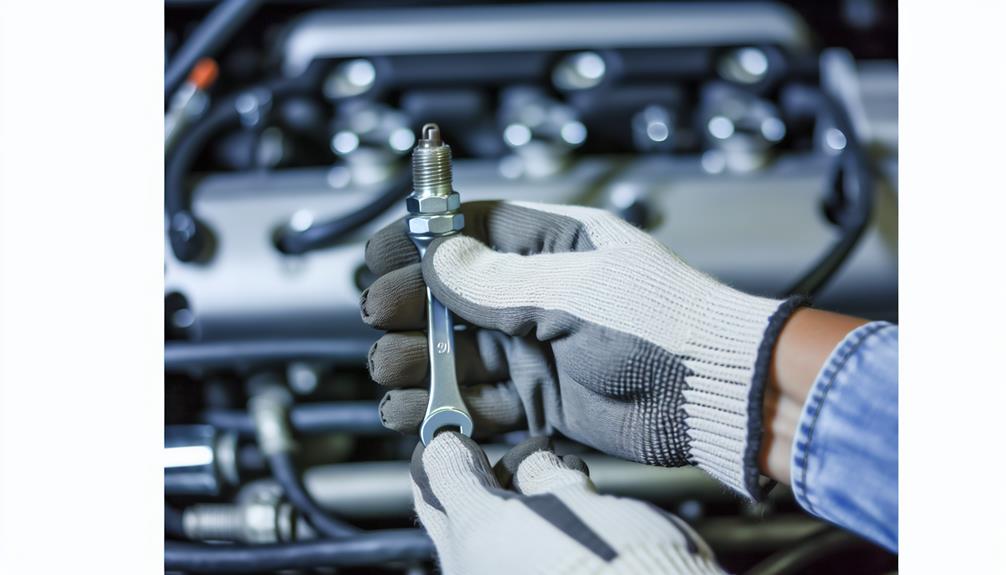
When replacing spark plugs in your car, it's important to follow precise and technical steps to ensure proper installation and optimal engine performance.
First, start by disconnecting the negative terminal of the battery to prevent any electrical mishaps.
Next, locate the spark plug wires and gently twist and pull them off the old spark plugs. Use a spark plug socket and ratchet to remove the old spark plugs, turning them counterclockwise.
Inspect the old spark plugs for any signs of damage or excessive wear. It's crucial to use the correct spark plug gap for your specific vehicle. The spark plug gap refers to the distance between the center and ground electrode. Consult your vehicle's manual or an online resource to determine the exact gap measurement.
Adjust the gap using a spark plug gap tool, carefully bending the ground electrode to achieve the correct distance.
Finally, install the new spark plugs by inserting them into the spark plug socket and carefully threading them into the engine block. Be sure not to overtighten, as this can damage the threads.
Reattach the spark plug wires, making sure they're securely connected.
Reconnect the negative battery terminal and start your car to ensure everything is working properly.
Following these steps will help you replace your spark plugs correctly and maintain optimal engine performance.
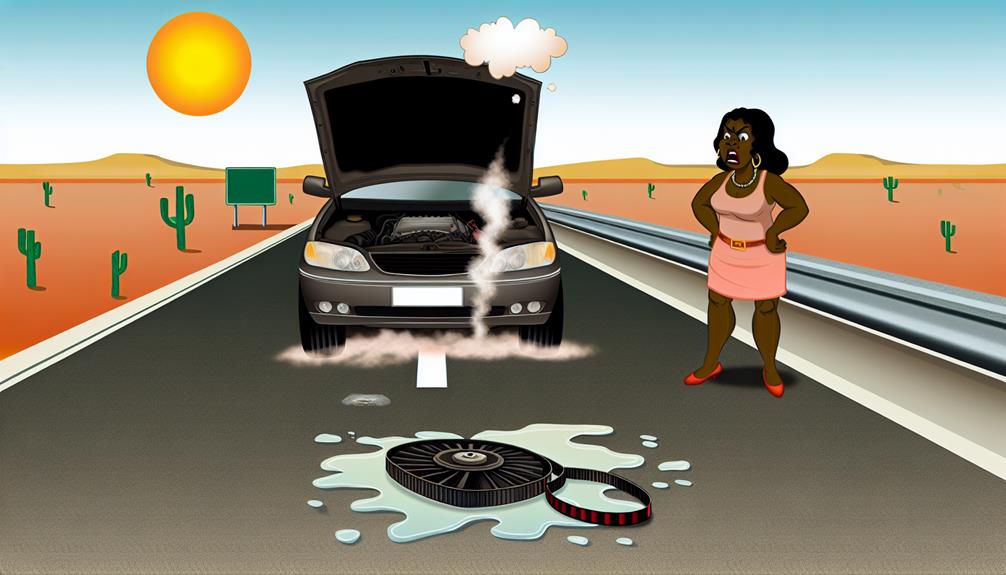
How to Diagnose and Fix Engine Overheating Issues
If your engine is experiencing overheating issues, it's crucial to diagnose and fix the problem promptly to prevent further damage and maintain optimal engine performance. Ignoring engine overheating can lead to severe engine damage, such as warped cylinder heads or blown head gaskets.
To diagnose and fix engine overheating issues, follow these steps:
- Check the coolant level: Ensure that the coolant level is within the recommended range. If it's low, add coolant and check for any leaks in the system.
- Inspect the radiator: Look for any signs of damage or clogging in the radiator. A damaged radiator may not cool the coolant efficiently, leading to overheating.
- Check the thermostat: A faulty thermostat can cause the engine to overheat. Test it by removing it and placing it in a pot of boiling water. If it doesn't open, it needs to be replaced.
To fix engine overheating issues, consider the following:
- Diagnosing engine misfires: Engine misfires can cause overheating. Use a diagnostic tool to identify any misfiring cylinders and address the underlying issues, such as faulty spark plugs or ignition coils.
- Fixing engine oil leaks: Engine oil leaks can lead to overheating if the leaked oil comes into contact with hot engine components. Identify and fix any oil leaks to prevent overheating.
Understanding Engine Warning Lights and What They Mean

Now that you have successfully diagnosed and fixed any engine overheating issues, it's important to understand the meaning behind those pesky engine warning lights and how to interpret them correctly. Engine warning lights are designed to alert you to potential problems within your vehicle's engine system. These lights, also known as check engine lights or malfunction indicator lights (MIL), are displayed on your vehicle's dashboard and can indicate a wide range of issues. To help you better understand these warning lights, here is a table outlining some common warning lights and their meanings:
| Warning Light | Meaning |
|---|---|
| Check Engine Light | Indicates a problem with the engine or emission control system |
| Battery Light | Indicates a problem with the vehicle's charging system |
| Oil Pressure Light | Indicates low oil pressure in the engine |
Interpreting warning codes can be a daunting task, but with the right resources, you can liberate yourself from the confusion. When a warning light appears, it is essential to consult your vehicle's user manual or an online database to decipher the specific meaning of the code. Some warning lights may require immediate attention, while others may indicate minor issues. By understanding the meaning behind these lights and interpreting the warning codes correctly, you can take appropriate action to resolve any potential problems and ensure the longevity of your engine.
Maintaining Proper Engine Coolant Levels for Optimal Performance
To maintain optimal performance of your engine, it's crucial to ensure that the coolant levels are properly maintained. Engine coolant plays a vital role in regulating the temperature of your engine, preventing it from overheating. Regular coolant checks are essential to keep your engine running smoothly and avoid costly repairs.
Here are some key points to consider:
- Engine Coolant Types: There are different types of engine coolant available, such as ethylene glycol-based or propylene glycol-based coolants. It's important to use the coolant recommended by your vehicle manufacturer to ensure compatibility and optimal performance.
- Regular Coolant Checks: Regularly checking the coolant levels is crucial. Park your vehicle on a level surface and allow the engine to cool down before opening the coolant reservoir cap. Ensure that the coolant level is between the minimum and maximum marks indicated on the reservoir.
- Importance of Coolant Checks: Maintaining proper coolant levels is important for various reasons. It helps prevent engine overheating, which can lead to significant damage. Coolant also contains additives that protect against corrosion and rust, extending the lifespan of your engine.
Taking the time to regularly check and maintain proper coolant levels will help keep your engine running smoothly and prevent costly repairs down the line. Remember to consult your vehicle's manual and follow the manufacturer's guidelines for coolant type and maintenance intervals.
Frequently Asked Questions
Can I Repair My Engine Without Any Prior Knowledge or Experience?
You can repair your engine without prior knowledge or experience. With the right tools and a willingness to learn, DIY engine repair is possible. You have the power to liberate yourself from costly mechanic bills.
How Often Should I Change My Engine Oil?
You should change your engine oil every 3,000 to 5,000 miles or as recommended by your vehicle's manufacturer. Choosing the right engine oil for your car and using synthetic oil offers benefits like improved lubrication and engine performance.
What Are Some Signs of a Malfunctioning Engine?
If you're wondering about signs of a malfunctioning engine, there are a few things to look out for. Keep an eye out for excessive smoke, strange noises, decreased power, and warning lights. Troubleshooting engine issues can help you identify and fix the problem.
Can I Use Any Type of Spark Plug in My Car?
You can't just use any spark plug in your car; compatibility is key. Different types of spark plugs have different heat ranges and designs, so make sure you choose the right one for optimal performance.
How Do I Know if My Engine Coolant Is Low and How Do I Refill It?
To check engine coolant levels, locate the coolant reservoir and inspect the level against the markings. If low, wait for the engine to cool, then remove the cap and add a mixture of coolant and distilled water.
Conclusion
In conclusion, by following these 9 best tips for DIY beginners in engine repair, you can confidently tackle basic engine maintenance and troubleshooting tasks.
Remember to prioritize safety precautions, invest in essential tools, and understand the fundamental components of an engine.
With proper maintenance and timely repairs, you can ensure optimal performance and longevity for your vehicle.
So gear up, roll up your sleeves, and dive into the world of engine repair with confidence!
- How to Close Spark Plug Gap: Expert Tips and Tricks! - May 13, 2024
- How to Perfectly Align Projector Headlights With Halo - May 13, 2024
- How Many Amps Does a Car Horn Draw? Unveiling the Power Requirements - May 13, 2024