Rebuilding a 4l60e transmission is a complex and challenging task that requires expertise and experience. It involves disassembling the transmission, inspecting and replacing worn or damaged parts, and reassembling it following precise specifications.
From understanding the intricate components to having the right tools and knowledge of the rebuild process, it can be a time-consuming and labor-intensive endeavor. However, with the right skills and resources, it is possible to successfully rebuild a 4l60e transmission and restore it to optimal performance.
Whether it’s a diy project or entrusting it to a professional, careful attention to detail and thoroughness are crucial for a successful rebuild.

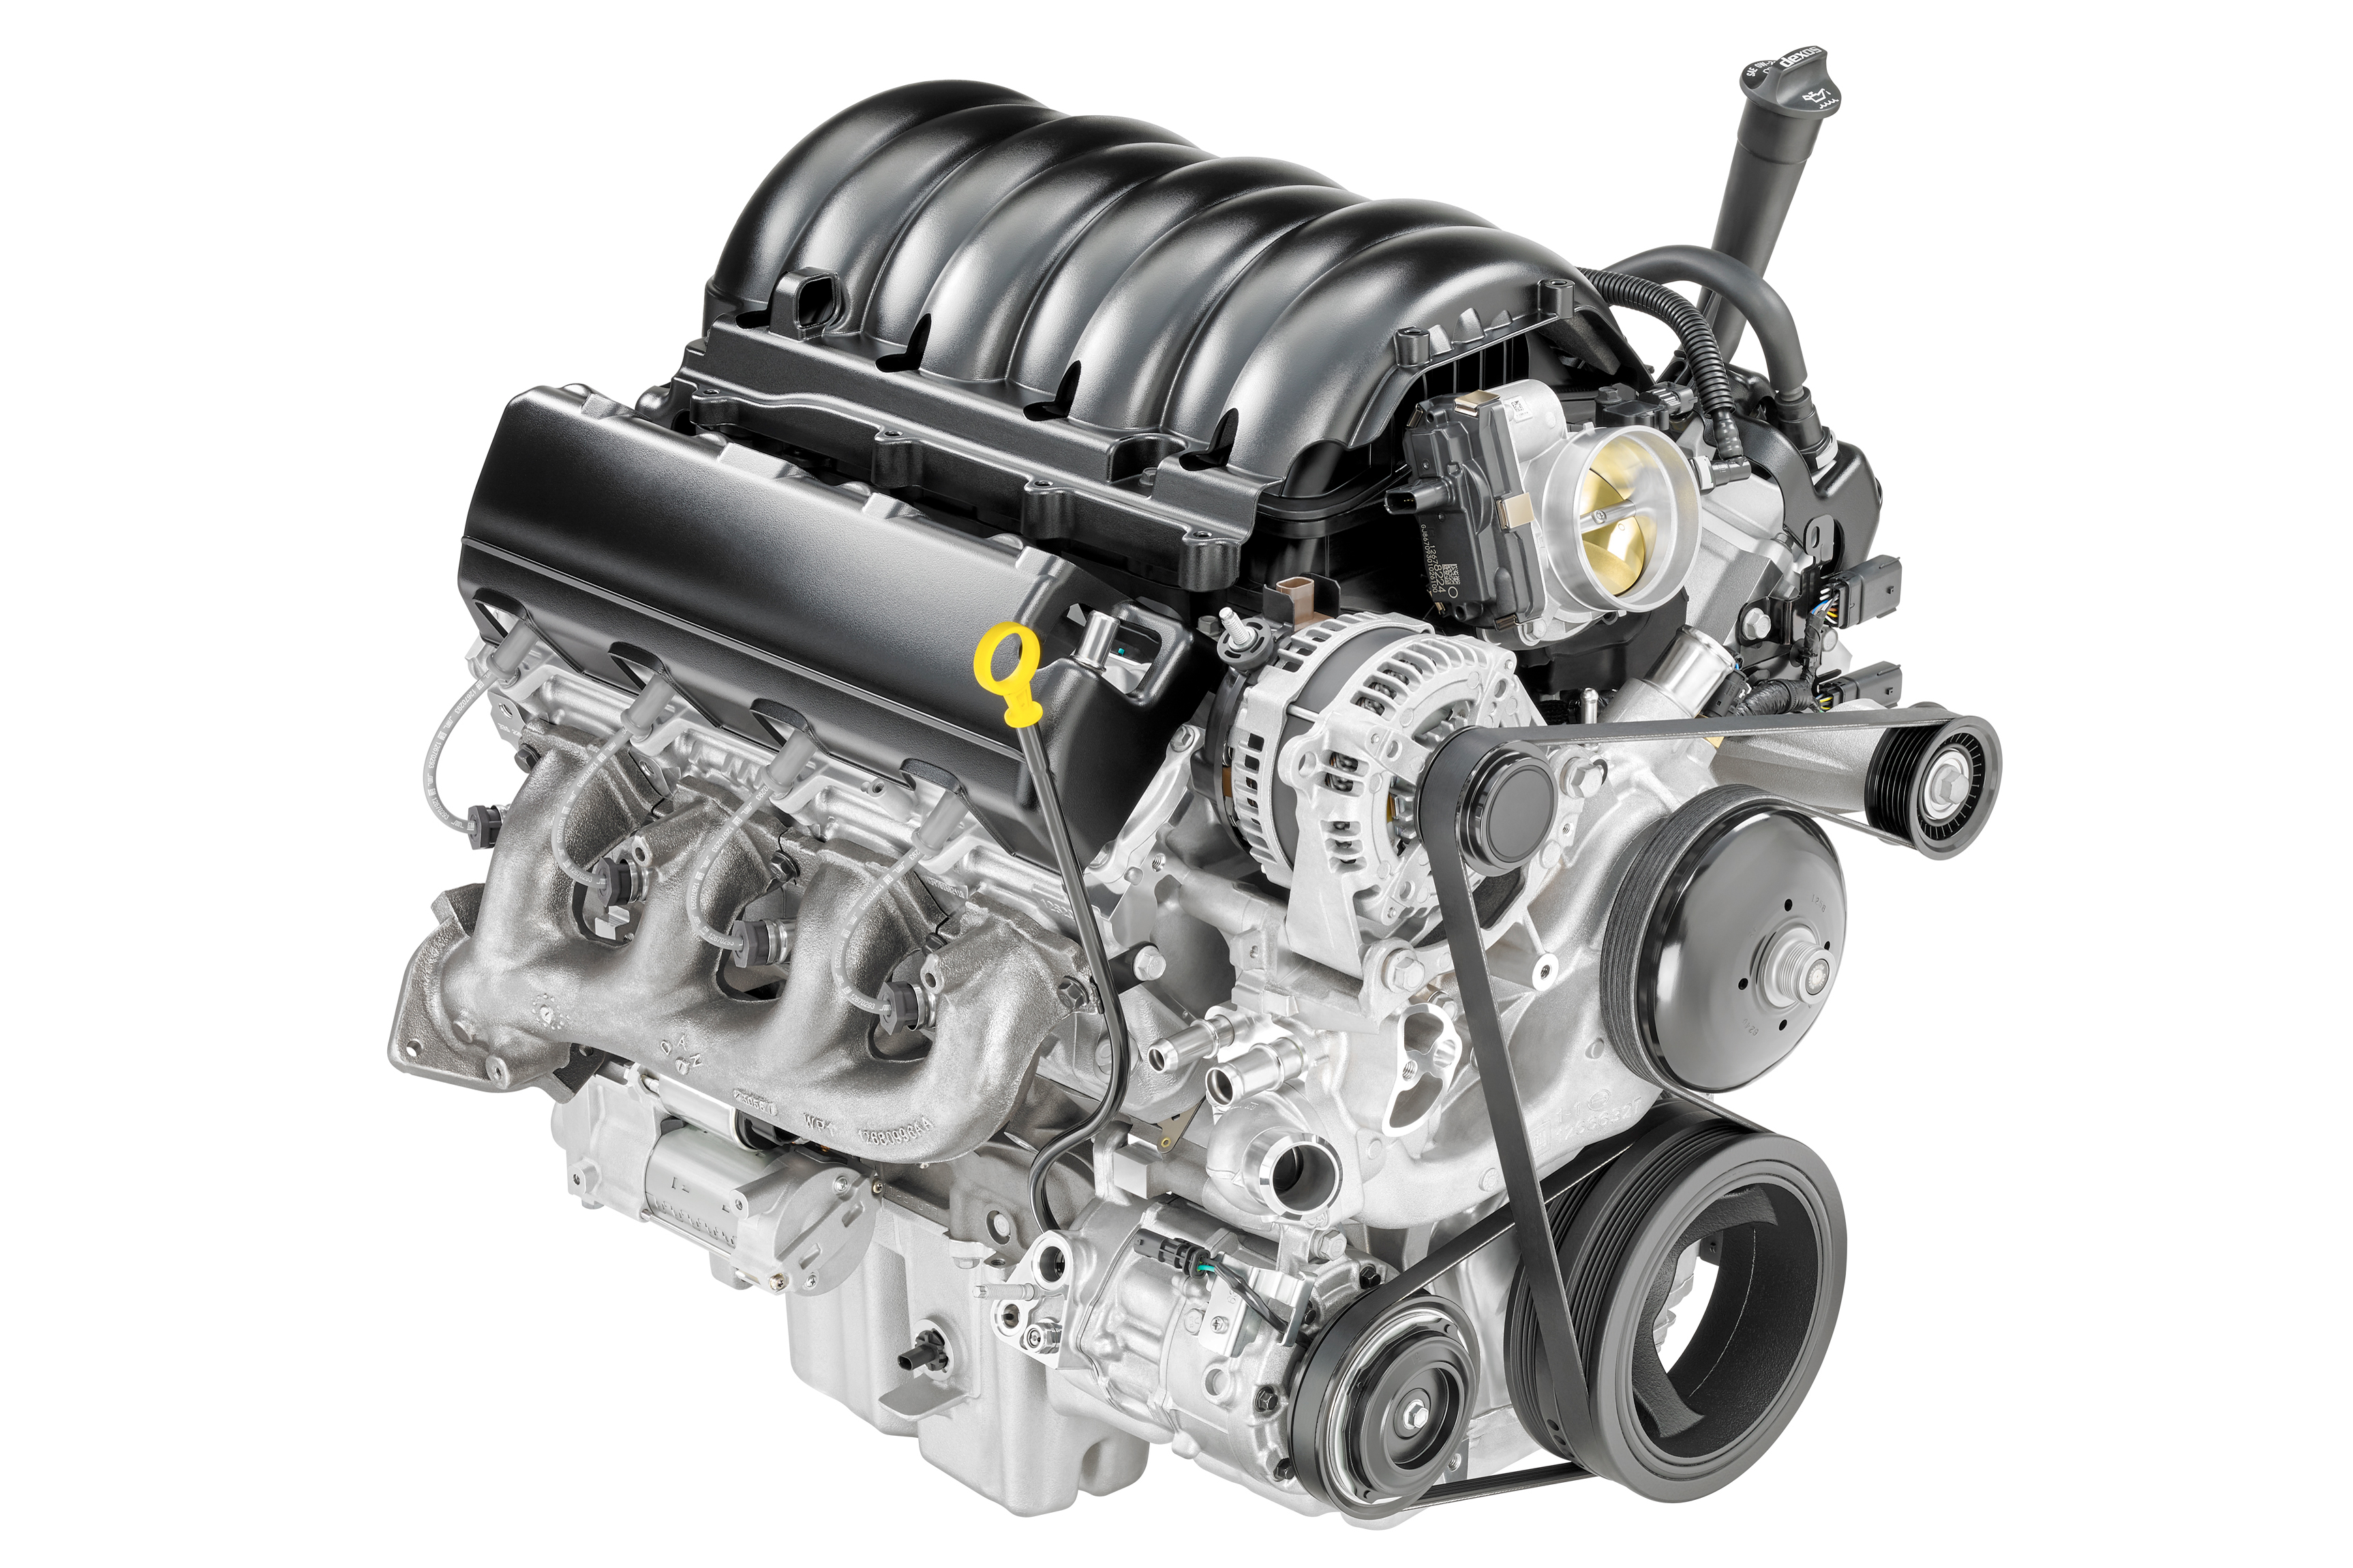
Credit: gmauthority.com
Understanding The Basics
So, you’ve found yourself in a situation where you need to rebuild a 4l60e transmission. Whether you’re a seasoned diy enthusiast or just getting your hands dirty for the first time, understanding the basics of this transmission is crucial. In this section, we’ll dive into the key components and functions of a 4l60e transmission, as well as the common issues that often require a transmission rebuild.
Let’s get started!
Introduction To The 4L60E Transmission
The 4l60e transmission is a popular automatic transmission commonly found in various general motors vehicles. It is a four-speed transmission that was first introduced in 1992, and it has been widely used ever since. The “4” in its name indicates the number of gears, while the “l60e” signifies the torque capacity and electronic controls.
Now that we have a brief overview, let’s take a closer look at its components and functions.
Components And Functions Of A 4L60E Transmission
When it comes to the 4l60e transmission, several key components work together to ensure smooth and efficient operation. Here are the main components and their functions:
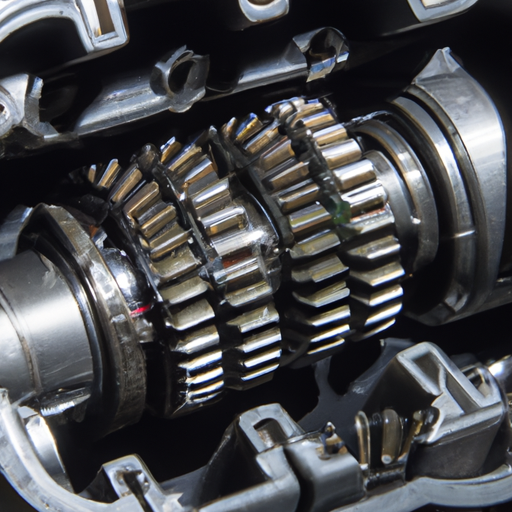
- Planetary gearsets: The 4l60e transmission utilizes multiple planetary gearsets that allow for different gear ratios, enabling seamless gear shifting and power transfer.
- Torque converter: The torque converter is responsible for transmitting engine power to the transmission input shaft. It also provides the necessary torque multiplication to get the vehicle moving from a standstill.
- Valve body: This component houses a complex network of valves that control hydraulic pressure and regulate gear shifts. It plays a vital role in ensuring the correct gear engagement and fluid flow.
- Clutch packs and bands: The 4l60e transmission uses clutch packs and bands to engage and disengage specific gears. These components are essential for achieving smooth shifts and transmitting power effectively.
- Electronic control module (ecm): The ecm monitors various sensors and controls the transmission’s operation based on the input it receives. It helps optimize gear shifts, improves fuel efficiency, and ensures reliable performance.
- Fluid pump and cooler: The fluid pump circulates transmission fluid, providing hydraulic pressure to operate the various components. The fluid cooler helps dissipate heat generated during operation, ensuring the transmission stays within optimal temperature ranges.
Common Issues That Require A Transmission Rebuild
As with any mechanical system, the 4l60e transmission is not immune to issues. Over time and under certain conditions, you may encounter problems that call for a transmission rebuild. Here are some common issues that might require such attention:
- Gear slippage: If you notice that your vehicle is slipping out of gear or struggling to maintain power, it could be an indicator of worn clutch packs, bands, or a faulty torque converter.
- Rough or delayed shifts: Shifting-related issues, such as harsh or delayed gear shifts, might be caused by worn-out clutches, valve body problems, or solenoid malfunctions.
- Fluid leaks: Transmission fluid leaks can occur due to damaged seals, gaskets, or faulty cooler lines. It’s important to address these leaks promptly, as low fluid levels can cause serious damage to the transmission.
- Overheating: A transmission that consistently runs hot may experience accelerated wear and damage. This can be caused by insufficient fluid cooling, a malfunctioning cooler, or excessive load on the transmission, among other factors.
Understanding the basics of a 4l60e transmission is essential before attempting a rebuild. By familiarizing yourself with its components, functions, and common issues, you’ll be better equipped to diagnose and address any problems you encounter. In the next section, we’ll delve into the process of rebuilding a 4l60e transmission, providing you with further guidance for a successful project.
Stay tuned!
Step-By-Step Guide To Rebuilding A 4L60E Transmission
Rebuilding a transmission may seem like a daunting task, but with the right guidance and a little patience, it can be done. In this step-by-step guide, we will walk you through the process of rebuilding a 4l60e transmission, highlighting the key points in each stage.
Disassembling The Transmission
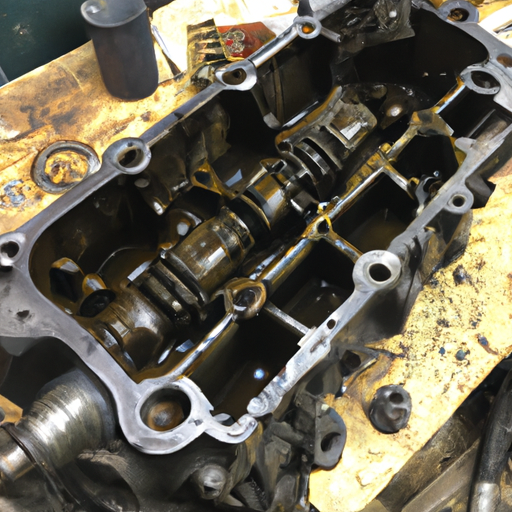
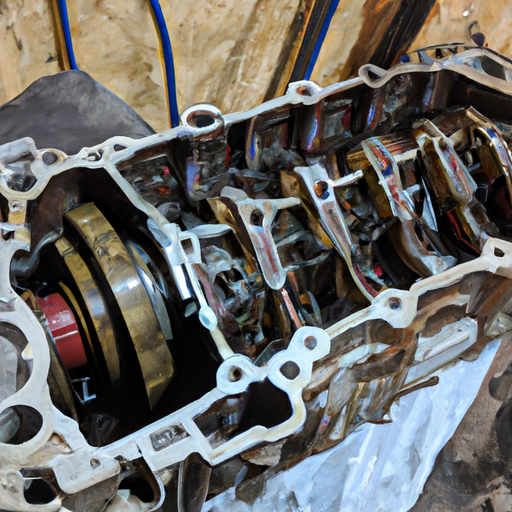
To begin the rebuilding process, you need to disassemble the 4l60e transmission carefully. Here are the key points to keep in mind:
- Drain the transmission fluid and remove the transmission pan.
- Take note of the position and order of the transmission components before disassembling.
- Remove the valve body and separate the various parts of the transmission.
Inspection And Evaluation Of Components
Once the transmission is disassembled, it’s important to inspect and evaluate the components to determine their condition. Here’s what you need to do:
- Inspect the clutch plates, bands, and gears for signs of wear or damage.
- Measure the clearance of the clutch plates and bands to ensure they are within specifications.
- Check the condition of the seals, bushings, and bearings.
- Evaluate the state of the torque converter for any issues.
Cleaning And Preparing Parts For Reassembly
Before reassembling the transmission, it’s crucial to clean and prepare the components properly. Follow these steps:
- Thoroughly clean all the transmission parts using a suitable cleaning solvent.
- Remove any buildup or debris from the valve body and other components.
- Carefully inspect and clean the transmission case, ensuring it is free of any contaminants.
- Dry the parts and apply lubricant as needed.
Replacing Worn Or Damaged Parts
During the inspection, if you find any worn or damaged components, they should be replaced. Consider these key points:
- Replace worn clutch plates, bands, gears, seals, bushings, bearings, and torque converter.
- Use high-quality replacement parts from reputable manufacturers.
- Ensure all replaced parts are compatible with the 4l60e transmission.
Reassembling The Transmission
Now it’s time to put the transmission back together. Follow these steps:
- Refer to your service manual or rebuild kit instructions for the correct order of assembly.
- Carefully align and install each component, ensuring they fit properly.
- Torque all bolts to the manufacturer’s specified values.
- Reinstall the valve body and transmission pan.

Adjusting And Calibrating Components
After reassembly, several components need adjustment and calibration. Consider the following points:
- Adjust the band and clutch pack clearances as per the manufacturer’s specifications.
- Calibrate the valve body and ensure proper fluid pressure.
- Set the kickdown cable to the correct tension.
- Verify that all adjustments are within the recommended ranges.
Testing The Rebuilt Transmission
Once the 4l60e transmission is reassembled and calibrated, it’s crucial to test it before installation. Follow these steps:
- Fill the transmission with the appropriate fluid.
- Start the engine and shift through all gears.
- Listen for any abnormal noises or vibrations.
- Test the transmission under different driving conditions to ensure smooth shifting and proper functionality.
By following this step-by-step guide, you can successfully rebuild a 4l60e transmission. Remember to refer to your service manual and take your time throughout the process to ensure a thorough and efficient rebuild.
Pro Tips And Techniques For A Successful Rebuild
Choosing The Right Tools And Equipment
When it comes to rebuilding a 4l60e transmission, having the right tools and equipment is crucial for a successful rebuild. Here are some pro tips to help you choose the right tools and equipment:
- Torque wrench: A high-quality torque wrench is essential for accurately tightening bolts and ensuring they are within the recommended torque specifications.
- Snap ring pliers: These specialized pliers are designed to safely remove and install snap rings, which are commonly found in the 4l60e transmission.
- Transmission jack: This piece of equipment is specifically designed to support and safely lower the transmission during removal and installation.
- Line pressure gauge: A line pressure gauge is used to measure the fluid pressure inside the transmission, allowing you to diagnose any potential issues.
- Seal removal and installation tools: These tools are used to remove and install seals without damaging them, ensuring a proper seal and preventing leaks.
- Cleaning tools: These include a parts washer, brushes, and solvents for cleaning various transmission components, such as the valve body and clutch packs.
- Diagnostic scanner: A diagnostic scanner allows you to retrieve trouble codes and monitor live data from the transmission, helping you pinpoint any issues.
- Service manual: Having a reliable transmission service manual specific to the 4l60e transmission is essential to guide you through the rebuild process and provide detailed instructions.
Remember, investing in high-quality tools and equipment will not only make your rebuild easier but also ensure a successful outcome.
Best Practices For Disassembly And Reassembly
Proper disassembly and reassembly are vital when rebuilding a 4l60e transmission. Follow these best practices to ensure a smooth process:
- Organize and label: Before starting, ensure you have a clean workspace and organize your tools. Labeling and organizing parts will save you time and prevent confusion during reassembly.
- Follow the manual: Always refer to the manufacturer’s service manual for the correct disassembly and reassembly procedures. Each component has specific steps that must be followed precisely.
- Inspect and replace: Thoroughly inspect all parts during disassembly. Replace worn or damaged components to avoid future issues.
- Keep components clean: Cleanliness is crucial throughout the process. Use a parts washer and solvents to clean parts and ensure they are free from debris or contaminants before reassembly.
- Lubrication is key: Apply the recommended lubricants to bearings, bushings, and other components during reassembly. This will ensure proper operation and longevity.
- Tighten to specifications: Use a torque wrench to tighten bolts to the recommended torque specifications. This will prevent over-tightening or under-tightening, which can cause damage or leaks.
- Double-check everything: Before moving to the next step, double-check all connections, alignments, and installations. This will help avoid mistakes or missed steps.
By following these best practices, you’ll increase your chances of a successful rebuild and a smoothly functioning 4l60e transmission.
Identifying Common Mistakes And How To Avoid Them
When rebuilding a 4l60e transmission, there are common mistakes that can easily be avoided. Here are some tips to help you identify and prevent these mistakes:
- Lack of cleanliness: Contaminants can cause significant damage to the transmission. Always ensure a clean work environment and use clean tools and parts. Keeping everything clean will prevent problems down the line.
- Skipping or rushing steps: Take your time during the disassembly and reassembly process. Rushing or skipping steps can lead to misalignments, missing parts, or incorrect installations.
- Incorrect adjustments: The 4l60e transmission requires specific adjustments for proper functioning. Make sure to follow the manufacturer’s instructions and adjust components, such as the bands and clutches, correctly.
- Failure to replace worn parts: Reusing worn or damaged parts can lead to premature failure. Thoroughly inspect all components during disassembly and replace any parts showing signs of wear or damage.
- Neglecting the valve body: The valve body is a crucial component that controls the flow of fluid within the transmission. Clean and inspect it carefully, making any necessary repairs or replacements.
- Ignoring torque specifications: Proper torque specifications should always be followed when tightening bolts. Over- or undertightening bolts can lead to leaks, damage, or improper operation.
- Not testing or adjusting line pressure: Line pressure is essential for optimal transmission performance. Make sure to test and adjust the line pressure using a gauge to ensure it falls within the recommended range.
Avoiding these common mistakes will greatly increase your chances of a successful rebuild and a transmission that operates smoothly.
Proper Torque Specifications And Tightening Sequences
Proper torque specifications and tightening sequences are crucial for a successful 4l60e transmission rebuild. Here are some key tips to follow:
- Refer to the service manual: Always consult the manufacturer’s service manual for the recommended torque specifications and tightening sequences. These are specific to the 4l60e transmission and must be followed precisely.
- Use a torque wrench: Invest in a high-quality torque wrench to ensure accurate torque readings. This will prevent overtightening or undertightening, which can lead to leaks, damage, or improper operation.
- Tighten in the correct sequence: Components within the transmission often have specific tightening sequences to ensure proper alignment and operation. Follow these sequences closely to avoid issues.
- Consider thread lubrication: In some instances, applying a thread lubricant before tightening bolts can help achieve more accurate torque readings. Refer to the service manual for specific recommendations.
By adhering to the proper torque specifications and tightening sequences, you’ll ensure that your rebuilt 4l60e transmission operates at its best.
Tips For Troubleshooting And Resolving Common Issues
Even with a careful rebuild, issues may arise with the 4l60e transmission. Here are some tips to help troubleshoot and resolve common issues:
- Check for fluid leaks: Inspect all connections, seals, and gaskets for leaks. Tighten or replace as necessary. Leaks can lead to poor performance, shifting issues, or damage to components.
- Verify fluid levels and condition: Ensure the transmission fluid levels are correct and within the recommended range. Monitor the fluid’s condition regularly, looking for signs of contamination or excessive wear.
- Read diagnostic trouble codes: Use a diagnostic scanner to retrieve trouble codes from the transmission control module. These codes can provide valuable insight into specific issues and help guide your troubleshooting efforts.
- Test solenoids and sensors: Faulty solenoids or sensors can cause various transmission problems. Test these components using a diagnostic scanner or multimeter, replacing any that are faulty.
- Inspect and adjust linkages: Ensure all linkages and cables are correctly adjusted and functioning properly. Misadjusted linkages can lead to improper shifting or other performance issues.
- Consider a transmission flush: If you’re experiencing shifting issues or poor performance, a transmission flush may help. Flushing the transmission can remove built-up sludge and contaminants, improving overall performance.

Troubleshooting and resolving common issues is an essential part of maintaining a properly functioning 4l60e transmission. By following these tips, you’ll be well-equipped to address any problems that may arise.
Remember, rebuilding a 4l60e transmission requires attention to detail, knowledge of the proper procedures, and the right tools and equipment. By following these pro tips and techniques, you’ll increase your chances of a successful rebuild and a transmission that performs reliably for years to come.
Frequently Asked Questions About Rebuilding A 4L60E Transmission
How Long Does It Take To Rebuild A 4L60E Transmission?
Rebuilding a 4l60e transmission is a meticulous task that requires careful attention to detail. The time it takes to complete the rebuild process can vary depending on several factors, including the individual’s experience and skill level. Here are a few key points to consider:
- On average, rebuilding a 4l60e transmission can take anywhere from 8 to 16 hours. This timeframe encompasses the disassembly, inspection, cleaning, replacement of worn components, reassembly, and testing stages.
- The complexity of the transmission and the extent of the damage can also impact the time required for the rebuild. More severe damage or worn-out parts may necessitate additional time and effort to complete the rebuild properly.
- It’s important to note that rushing through the process can lead to mistakes that may compromise the transmission’s performance. Taking the time to ensure each step is done correctly is crucial for a successful rebuild.
Do I Need Any Special Skills Or Knowledge To Rebuild A Transmission?
Rebuilding a 4l60e transmission is a technically challenging task that requires a certain level of expertise. Here’s what you should know:
- A solid understanding of automotive systems and mechanical know-how is essential for rebuilding a transmission. Knowledge of transmission components, their functions, and how they interact is crucial.
- Specialized tools and equipment are often necessary to properly disassemble and reassemble the transmission. These may include torque wrenches, seal pullers, snap ring pliers, and more. Familiarity with these tools is important for a successful rebuild.
- Patience and attention to detail are vital attributes for anyone attempting to rebuild a transmission. Each component must be thoroughly inspected, cleaned, and reassembled correctly for optimal performance.
- While not absolutely required, having prior experience with automotive repairs or transmission rebuilds can greatly facilitate the process.
Can I Rebuild A 4L60E Transmission Without Professional Help?
Rebuilding a 4l60e transmission without professional help is possible, but it’s important to consider the following points:
- Rebuilding a transmission is a complex task that requires in-depth knowledge and experience. If you’re not confident in your abilities, it may be best to seek professional assistance to avoid costly mistakes.
- However, for those with a good understanding of automotive systems and experience in mechanical repairs, rebuilding a 4l60e transmission can be a rewarding diy project.
- It’s important to have a comprehensive rebuild manual or guide specific to the 4l60e transmission for reference during the process. This will help ensure that each step is done correctly.
- Maintaining cleanliness throughout the rebuild process is crucial. Any contamination or debris left inside the transmission can cause serious issues down the line.
- If you choose to rebuild the transmission on your own, take your time, follow the instructions carefully, and don’t hesitate to seek guidance or consult forums and communities for additional support.
What Are The Costs Involved In Rebuilding A 4L60E Transmission?

The costs associated with rebuilding a 4l60e transmission can vary depending on several factors. Consider the following key points:
- The extent of the damage and the need for replacement parts will heavily influence the overall costs. Keep in mind that a thorough inspection should be conducted to determine the necessary repairs and replacements.
- On average, the cost of a rebuild kit for a 4l60e transmission ranges from $200 to $400. This kit typically includes gaskets, seals, clutches, and other components necessary for the rebuild.
- Additional costs may arise if specialized tools or equipment are required for the rebuild. These tools may include torque wrenches, bearing pullers, or transmission jacks.
- If you decide to seek professional help for the rebuild, labor costs can vary based on location and the mechanic’s expertise. It is advisable to obtain multiple quotes from reputable transmission specialists.
- Keep in mind that the cost of rebuilding a transmission may be significantly less than purchasing and installing a brand-new one, making it a cost-effective option for some individuals.
Are There Any Alternatives To Rebuilding A Transmission?
While rebuilding a transmission is a common approach to addressing transmission issues, there are alternatives to consider. Here are a few key points:
- Replacement: In some cases, it may be more cost-effective and time-efficient to replace the entire transmission rather than rebuilding it. This option is especially applicable if the transmission has extensive damage or if it is an older model.
- Used transmissions: Another alternative is to purchase a used transmission from a reputable seller. However, it’s important to thoroughly inspect the used transmission and ensure it is in good working condition before installation.
- Re-manufactured transmissions: Re-manufactured transmissions offer an intermediate option between a rebuilt transmission and a brand-new one. These transmissions undergo rigorous testing and come with warranties, providing added peace of mind.
- Seek professional help: If rebuilding or replacing the transmission seems daunting, it is recommended to consult with a professional transmission specialist. They can assess the condition of your transmission and provide guidance on the most suitable option for your needs.
Rebuilding a 4l60e transmission can be a challenging but rewarding endeavor. While it requires a certain level of skill, knowledge, and patience, taking the time to rebuild the transmission properly can save you money and ensure optimal performance. Whether you decide to tackle the rebuild on your own or seek professional help, carefully consider your options before making a decision.
Frequently Asked Questions On How Hard Is It To Rebuild A 4L60E Transmission
How Long Does It Take To Rebuild A 4L60E Transmission?
It typically takes a skilled mechanic about 8-12 hours to rebuild a 4l60e transmission.
What Are The Steps Involved In Rebuilding A 4L60E Transmission?
The process of rebuilding a 4l60e transmission involves removing, disassembling, inspecting, repairing, and reassembling its various components.
What Skills Are Required To Rebuild A 4L60E Transmission?
Rebuilding a 4l60e transmission requires a strong understanding of automatic transmissions, mechanical aptitude, and attention to detail.
Can A Beginner Rebuild A 4L60E Transmission?
Rebuilding a 4l60e transmission is a complex task best suited for experienced mechanics due to its intricate design and precision assembly.
Is It Cost-Effective To Rebuild A 4L60E Transmission?
Rebuilding a 4l60e transmission can be a cost-effective option compared to purchasing a new transmission, especially if the rebuild is done correctly and by a reputable mechanic.
Conclusion
Overall, rebuilding a 4l60e transmission is a task that requires a lot of skill and experience. It’s not something that can be easily done by just anyone. From disassembling the transmission to inspecting and cleaning the parts, every step requires attention to detail and precision.
The complexity of the transmission’s design and the intricacies involved in putting it back together make it a challenging process. However, with proper knowledge, the right tools, and a lot of patience, it is definitely possible to rebuild a 4l60e transmission.
Remember to follow manufacturer guidelines, consult experts if needed, and take your time to ensure every step is done correctly. By doing so, you can save money and potentially extend the life of your transmission. So, if you’re up for the challenge, go ahead and give it a try!
- How Much Does a Ford 9N Tractor Weigh - May 20, 2024
- How Many of My Exact Car were Made: Uncovering the Rarity - May 20, 2024
- How to Find Out What Someone Drives: Discover the Truth - May 20, 2024

