Preparing your surfaces for painting is a crucial step in achieving a professional finish. Before you apply your paint, it’s essential to thoroughly clean any primer that was previously applied. Failing to do so could result in an uneven application, peeling, or even complete failure of your paint job. Residual debris, dust, or grease left on the primer can cause the paint to adhere improperly, leading to a subpar finish. So, to ensure your efforts are not wasted, follow these important steps to properly clean your primer before painting.
Understanding Primer
Before you start cleaning the primer, it’s important to understand what primer is and its role in the painting process. Primer is a preparatory coating applied to materials before painting. Its main purpose is to ensure better adhesion of the paint to the surface, increase paint durability, and provide an additional layer of protection.
Types of Primer and Their Functions
There are several types of primer available, each with its own specific functions. Oil-based primers are great for blocking stains and tannin bleed, while latex-based primers are better for flexible surfaces. Shellac-based primers are excellent for sealing odors and stains, while bonding primers are ideal for slick or glossy surfaces. Water-based primers are suitable for most surfaces indoors. Your choice of primer will depend on the specific surface you are painting and the desired end result. Thou, it is important to choose the right primer for your project to ensure the best outcome.
Identifying When Primer Needs Cleaning
When you see dirt, dust, or debris on the surface that you have primed, it’s time to clean the primer before painting. Any contamination on the primer can affect the adhesion of the paint and the overall finish, so it’s crucial to identify when the primer needs cleaning. Make sure to look closely at the surface and address any issues before proceeding with the paint application.

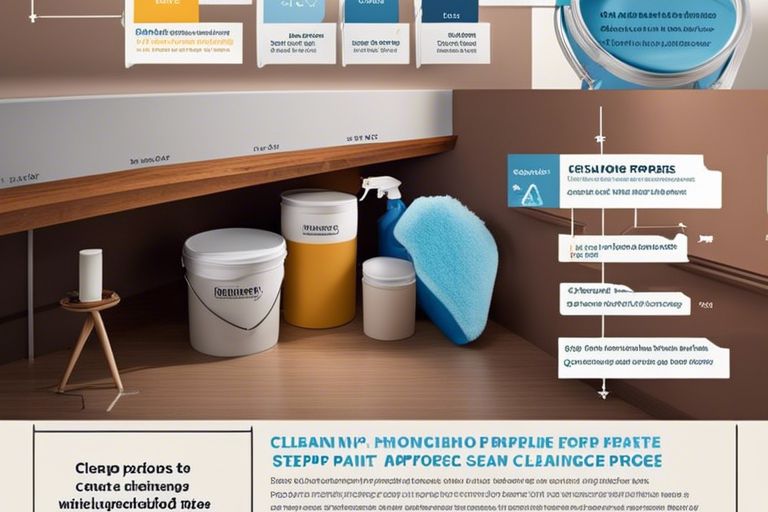
Preparation for Cleaning
Obviously, the first step in cleaning primer before paint is to prepare for the task. This includes gathering all the necessary tools and materials and taking safety measures to protect yourself during the process. It’s also important to know the proper way to wipe down a vehicle prior to paint, which you can learn more about here.
Safety Measures and Protective Gear
Before you begin cleaning the primer, it’s crucial to take safety measures to protect yourself from harmful chemicals and fumes. Make sure to work in a well-ventilated area or use a respirator to avoid inhaling any toxic particles. Additionally, wearing gloves and protective eyewear can prevent any skin or eye irritation from the cleaning agents. Always read the labels on the cleaning products to understand their potential hazards and how to protect yourself.
Tools and Materials Needed
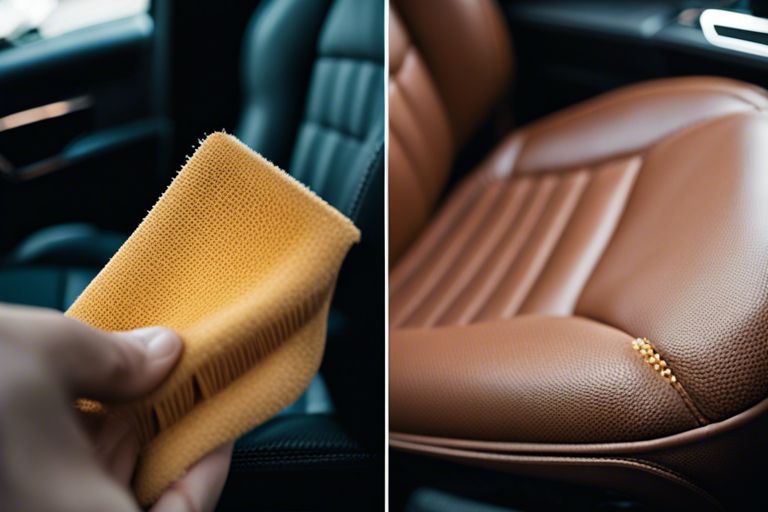
When preparing to clean primer before paint, you will need a few essential tools and materials. These include a clean and lint-free microfiber cloth, a high-quality degreaser or wax and grease remover, and a wax and grease remover safe for use on bare metal and plastic. Additionally, having access to a mild detergent and water solution, along with a spray bottle and some clean towels, can be useful for tackling any stubborn spots. Remember that using the right tools and materials is crucial to achieve a clean and smooth surface for the paint to adhere to.

The Cleaning Process
After learning about the importance of cleaning primer before painting, it’s time to understand the actual cleaning process. You can find detailed step-by-step instructions on How to Clean Primer before Paint – Autopickles.
Step-by-Step Cleaning Instructions
If you’re ready to get started, here are the step-by-step instructions for cleaning primer before painting. This process is crucial to ensure a smooth and long-lasting finish for your paint job.
| Step 1 | Remove any dust or debris from the primer surface using a clean, dry cloth. |
| Step 2 | Prepare a cleaning solution by mixing water and a mild detergent. |
| Step 3 | Gently scrub the primer surface with the cleaning solution using a soft sponge or cloth. |
| Step 4 | Rinse the surface thoroughly with clean water to remove any residue from the cleaning solution. |
| Step 5 | Allow the surface to dry completely before applying the paint. |
Troubleshooting Common Issues
If you encounter any issues during the cleaning process, it’s important to address them before proceeding with the paint job. Here are some common problems and their solutions:
If you notice stubborn stains or residue on the primer surface, you can try using a stronger cleaning solution or a specialized primer cleaner. Always test a small, inconspicuous area first to ensure that the cleaner does not damage the primer.
After Cleaning
Not sure if you have cleaned the primer well enough before painting? How do you guys clean primer before top coating? This helpful discussion might provide some insight into the steps others take to ensure a clean surface before painting.
Ensuring the Primer is Ready for Paint
Once you have cleaned the primer, it’s crucial to ensure that it’s ready for paint. Perform a final inspection to check for any remaining dirt, grease, or other contaminants. Make sure the surface is completely dry before proceeding to the next step. A clean, dry surface is essential for the paint to adhere properly.
Tips for Applying Paint Over Clean Primer
When applying paint over clean primer, it’s important to use the right materials and techniques to achieve a professional finish. Make sure to use high-quality paint and follow the manufacturer’s instructions for application. Use smooth, even strokes to apply the paint, and allow each coat to dry completely before applying the next. Any imperfections or debris on the surface can affect the final result, so take your time and pay attention to detail.
- Use a quality paint primer for better adhesion.
- Apply the paint in thin, even coats for a smooth finish.
- Allow each coat to dry completely before applying the next.
Any debris or imperfections in the paint can detract from the overall appearance of the surface, so it’s important to take your time and apply the paint carefully.
The Importance of Properly Cleaning Primer Before Painting
The key to achieving a professional paint job lies in the proper preparation of the surface, and this includes properly cleaning the primer before applying the paint. It is crucial to ensure that all dust, dirt, and debris are removed from the surface, as any residue left behind can affect the adhesion and appearance of the paint. By using a damp cloth or sponge, you can easily wipe down the primed surface to remove any lingering particles. Additionally, using a mild detergent or degreaser can help break down any stubborn spots or grease. Once the surface is clean and dry, you can proceed with confidence to apply your paint, knowing that you have set the foundation for a flawless finish. Taking the time to clean the primer before painting will not only improve the overall look of the finished product, but also ensure the longevity of the paint job.
FAQ about Cleaning Primer Before Paint
Q: Why is it important to clean primer before painting?
A: Cleaning primer before painting is crucial for ensuring a smooth and even finish. Any dirt, dust, or contaminants left on the primer can affect the adhesion and durability of the paint.
Q: What is the best way to clean primer before painting?
A: The best way to clean primer before painting is to use a mild detergent and water solution, along with a clean cloth or sponge. Gently scrub the surface to remove any dirt, grease, or grime, and then rinse thoroughly with clean water.
Q: Can I use a solvent to clean primer before painting?
A: Yes, you can use a solvent such as denatured alcohol or mineral spirits to clean primer before painting. However, it is important to test the solvent on a small, inconspicuous area first to ensure that it does not damage the primer or the substrate.
Q: Should I sand the primer before cleaning it?
A: Lightly sanding the primer before cleaning it can help remove any rough spots or imperfections, and can also improve the adhesion of the paint. Use a fine-grit sandpaper and be sure to clean the surface thoroughly after sanding.
Q: How long should I wait after cleaning the primer before applying the paint?
A: After cleaning the primer, it is important to allow sufficient time for the surface to dry completely before painting. This can vary depending on the type of primer and the environmental conditions, but typically allowing 24 hours for the primer to dry is recommended.