
If you’re utilizing a Raptor liner spray gun, you know the importance of maintaining its cleanliness. Properly cleaning your spray gun is crucial for ensuring its longevity and efficiency. Neglecting to do so can lead to clogging and potentially irreversible damage. By regularly cleaning your Raptor liner spray gun, you can prevent these issues, saving yourself time and money in the long run. In this blog post, we will guide you through the steps on how to effectively clean your Raptor liner spray gun, keeping it in pristine condition for future use.
Pre-Cleaning Preparation
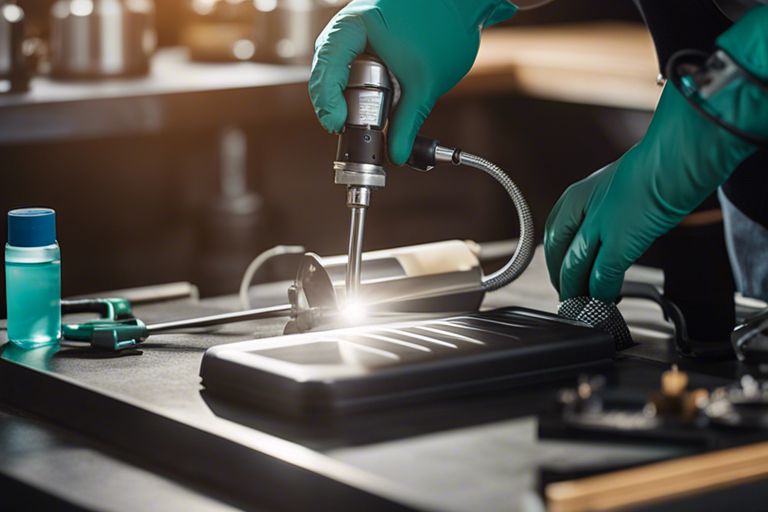
Your raptor liner spray gun requires proper cleaning to ensure consistent and effective performance. Before you start cleaning, it is important to take some pre-cleaning preparation steps to ensure your safety and the effectiveness of the cleaning process.
Safety Precautions
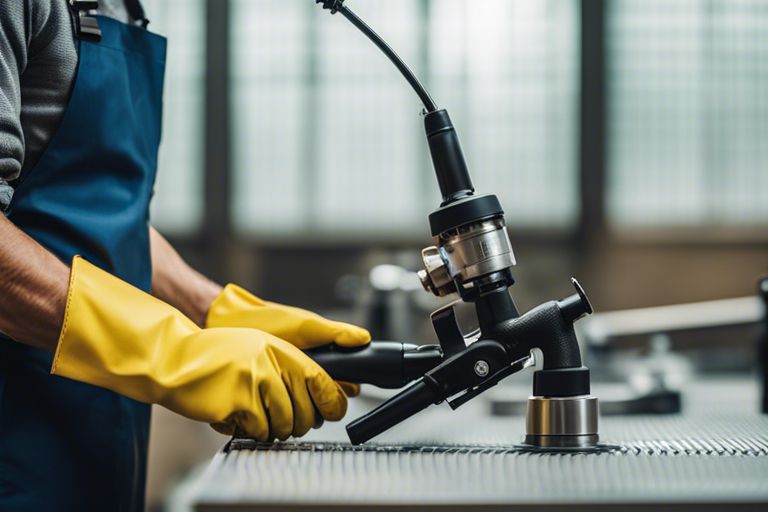
Your safety is of utmost importance when cleaning a raptor liner spray gun. The chemicals used in the liner can be hazardous if not handled properly. Make sure to wear protective gloves, safety goggles, and a mask to prevent any contact with the chemicals and fumes. Work in a well-ventilated area to avoid inhaling any harmful fumes.
Necessary Tools and Materials
To efficiently clean your raptor liner spray gun, you will need a few essential tools and materials. These include a cleaning solvent, a brush set, a cleaning kit specific to your spray gun model, and a well-ventilated area or a spray gun cleaning station. Having the right tools and materials will make the cleaning process smoother and more effective.
Disassembly of the Spray Gun
Any time you’re working with a spray gun, it’s important to disassemble it properly for cleaning. If you’re using a Raptor liner spray gun, it’s especially crucial to ensure that every part is thoroughly cleaned after each use. This will prevent clogs and ensure that your spray gun continues to function effectively. For detailed discussions and advice on Raptor Liner application, you can visit Raptor Liner this weekend any last minute advice.
Step-by-Step Disassembly Process
When disassembling your Raptor liner spray gun, it’s important to take your time and pay attention to the details. Here’s a step-by-step process you can follow to ensure that each part is properly disassembled and ready for cleaning:
| Step 1 | Start by releasing any remaining pressure in the gun and disconnecting it from the air supply. This is an important safety precaution to avoid any accidental spraying. |
| Step 2 | Remove the fluid nozzle, needle, and air cap from the spray gun. These components are crucial for the proper function of the gun, and they should be carefully cleaned after each use to avoid any clogs. |
| Step 3 | Next, carefully remove the fluid tip and any additional components from the spray gun. Pay close attention to how each part is removed so that you can easily reassemble the gun after cleaning. |
Organizing Disassembled Parts
As you disassemble your Raptor liner spray gun, it’s crucial to keep all the parts organized. You can use small containers or a tray to keep the different components separated and easily accessible for cleaning. This will also help you to ensure that no parts are lost during the cleaning process, and that everything is reassembled correctly when you’re finished.

Cleaning Process
Now that you have completed your Raptor liner spraying job, it’s time to clean your spray gun to ensure its longevity and proper functioning for your next project. Not cleaning your spray gun properly can lead to clogging and reduced performance. To start the cleaning process, refer to the STANDARD OPERATING PROCEDURE FOR APPLYING Raptor Liner. This will provide you with the manufacturer’s guidelines for cleaning and maintenance of the spray gun.
Internal Components Cleaning Techniques
When cleaning the internal components of your Raptor liner spray gun, it is crucial to disassemble the gun carefully to access all the internal parts. Begin by removing the nozzle and fluid needle, and then the air cap. Clean each part thoroughly with a suitable solvent to remove any liner residue. Make sure to inspect each component for any signs of wear or damage, and replace them if necessary. Reassemble the gun only when all parts are completely dry to avoid any contamination.
External Components Cleaning and Maintenance
While cleaning the internal components is vital for the proper functioning of your spray gun, it is equally important to maintain the external components. After every use, wipe down the exterior of the spray gun with a clean cloth to remove any overspray or residue. This will prevent buildup and corrosion, ensuring the longevity of your equipment. It’s also a good practice to lubricate the moving parts and hinges to keep them functioning smoothly.
Reassembly and Storage
Unlike cleaning, reassembling the spray gun after cleaning is a relatively straightforward process. Once all the components are thoroughly cleaned and dried, you can begin putting the spray gun back together. If you need a refresher on the disassembly process, you can refer to a helpful guide on Cleaning a spray gun after use of bedliner.
Reassembling the Spray Gun
After all the individual parts are clean and dry, reassembly should be done carefully to ensure proper function. Begin by reattaching the nozzle, followed by the tip guard, and then the needle. Make sure everything is screwed in tightly to prevent any leaks or malfunction. Once the main components are in place, you can reattach the air cap and the spray gun handle. Double-check that everything is secure and properly fitted before testing the gun with water or solvent before actual use.
Proper Storage Practices to Preserve Functionality
After cleaning and reassembling your spray gun, proper storage is crucial to maintaining its functionality. Make sure to store the spray gun in a cool, dry place away from direct sunlight and extreme temperatures. This will prevent any buildup or damage to the internal components. Additionally, it’s essential to store the spray gun in an upright position to prevent any potential leakage or blockage in the nozzle. Always remember to release the pressure in the gun before storing to avoid any damage to the seals or internal mechanisms.
Conclusion: Cleaning Your Raptor Liner Spray Gun

Now that you’ve learned the proper steps to clean your Raptor Liner spray gun, you can ensure that it continues to work effectively for future projects. By regularly disassembling and cleaning the components, flushing the system with appropriate solvents, and maintaining proper storage, you can extend the life and performance of your spray gun. Remember to consult your specific product manual for any additional tips or recommendations. With these simple yet crucial maintenance practices, you can keep your Raptor Liner spray gun in top condition for all your spraying needs.
FAQ
Q: How often should I clean my raptor liner spray gun?
A: It is recommended to clean your raptor liner spray gun after each use to prevent build-up and ensure optimal performance.
Q: What is the best way to clean a raptor liner spray gun?
A: The best way to clean a raptor liner spray gun is to disassemble the gun and clean each component thoroughly with a solvent such as lacquer thinner. It is important to follow the manufacturer’s instructions for disassembly and cleaning.
Q: Can I use water to clean my raptor liner spray gun?
A: No, it is not recommended to use water to clean a raptor liner spray gun as water can cause rust and corrosion in the gun’s components. It is best to use a solvent recommended by the manufacturer for cleaning.
Q: How do I prevent clogs in my raptor liner spray gun?
A: To prevent clogs in your raptor liner spray gun, make sure to clean it thoroughly after each use and use a compatible thinner or reducer to ensure proper viscosity of the liner material. It is also important to store the gun properly and follow the manufacturer’s guidelines for maintenance.
Q: What are the common mistakes to avoid when cleaning a raptor liner spray gun?
A: Common mistakes to avoid when cleaning a raptor liner spray gun include using the wrong type of solvent, not disassembling the gun completely for cleaning, and not following the manufacturer’s recommendations for maintenance. It is important to take the time to clean the gun properly to ensure its longevity and performance.
- Differential Lockers: Traction Mastery: Unleash Your Off-Road Potential - April 30, 2024
- Transform Your Life with Smartphone Integration: Connectivity Bliss! - April 30, 2024
- Tuning Error Solutions: Quick Fixes for a Smoother Performance - April 30, 2024