
To fix cracked paint on a car, clean the area, sand the crack, fill it with body filler, and repaint. Starting with a thorough washing is essential.
Imagine noticing the unsightly sight of cracked paint on your shiny vehicle; it’s a problem many car owners eventually face. Cracks in car paint can occur due to age, weather exposure, or impact, leading to more serious issues like rust if left unaddressed.
Fortunately, repairing cracked paint is a manageable task for those willing to invest a little time and effort. This introductory guide aims to give you a straightforward overview of the process, ensuring your car gets back to looking its best. By adhering to a meticulous repair routine, you can restore your car’s paint finish to a near-original condition. Remember, acting quickly upon noticing any paint damage is key to preventing further deterioration of your vehicle’s exterior.

Credit: shop.advanceautoparts.com
Identifying The Extent Of Paint Damage
Before fixing cracked paint on a car, it’s crucial to know how much damage exists. The approach to repair depends largely on the type and extent of the damage sustained by the vehicle’s paint. Let’s dive into how to properly assess and understand the issue.
Assessing The Severity
Understanding the level of damage is the first step to a successful repair. Start by cleaning the affected area. Use a mild soap and water solution to remove debris that can obscure the details of the paint damage. Once dry, inspect the crack location and size. Consider these points:
- Are the cracks superficial or deep into the paint layers?
- Do the cracks cover a small area or are they widespread?
- Is there rust buildup around the paint cracks?
Use a magnifying glass for a closer look if necessary. Document the severity with photos from different angles.
Distinguishing Between Cracks And Scratches
Not all paint imperfections are the same. Scratches and cracks require different repair methods. A scratch is a surface blemish that might only affect the clear coat. A crack often goes deeper, sometimes reaching the metal. To tell them apart:
- Run a fingernail over the imperfection.
- If your nail catches, it’s likely a scratch.
- Cracks may appear as fine lines or web-like patterns.
Scratches can sometimes be buffed out; cracks cannot. Understanding this difference is essential before starting any repairs. Your inspection should determine if you’re dealing with a simple scratch or a more serious crack.
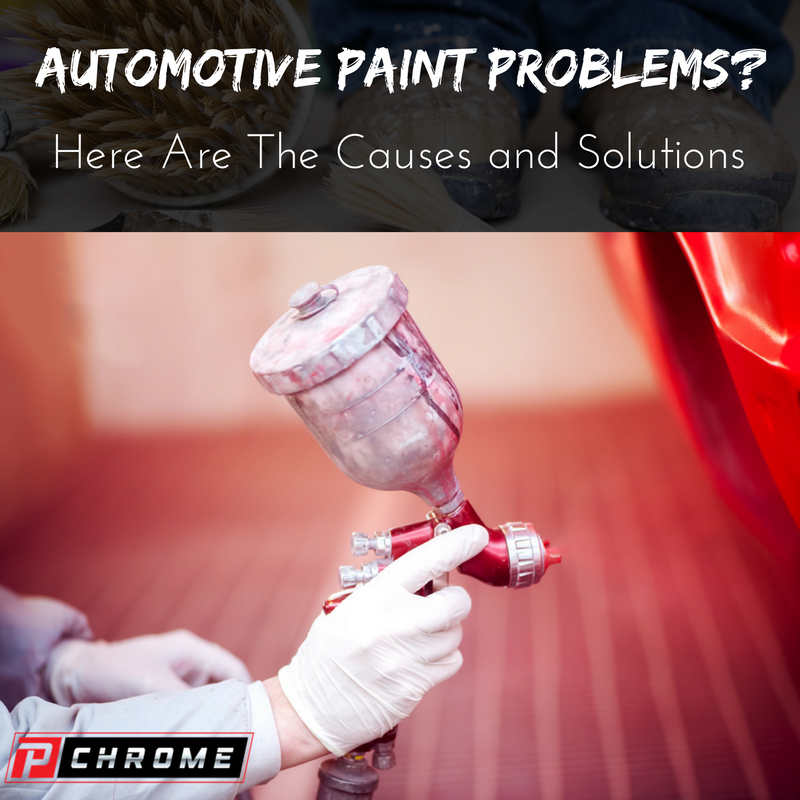
Credit: pchrome.com
Gathering Necessary Materials
Before diving into the repair of cracked paint on your car, proper preparation is key. A successful fix requires collecting all the right materials. Read on to know exactly what you’ll need to complete the job like a pro.
Selecting The Right Paint
Choosing the correct paint is crucial. It must match your car’s color and finish exactly.
- Find your car’s color code: Look in your owner’s manual or on the car’s door jamb.
- Purchase touch-up paint: Buy from auto stores or dealerships.
- Clear coat: Get a clear coat for a glossy finish, if necessary.
Tools For The Job
Having the right tools makes the process smoother. Here’s a list you should have.
- Sandpaper: Smooths the area before painting.
- Microfiber cloth: For cleaning the surface without leaving residue.
- Masking tape: Protects areas from unwanted paint.
- Primer: Prepares the surface for paint adhesion.
- Paint applicators: Brushes or pens to apply the paint.
- Gloves: Keeps your hands clean and safe from chemicals.
Prepping The Area For Repair
Prepping the Area for Repair is your first step towards a flawless finish on your car’s cracked paint. A well-prepped surface will ensure the repair blends seamlessly with the surrounding paint. Follow these crucial steps to prepare your car for the repair process.
Cleaning The Surface
Start with a clean canvas to fix the cracks effectively. Remove all dirt, debris, and wax that could interfere with your repair. Use a quality automotive cleaner and a microfiber cloth for the best results.
- Wash the affected area with soapy water
- Rinse thoroughly to avoid soap residue
- Dry with a clean microfiber towel
- Apply an automotive cleaner to eliminate tough grime
Sanding For Smoothness
Once the area is clean, it’s time to sand. Create a smooth surface by sanding down the cracked paint and edges. This step is vital for proper adhesion of the new paint.
- Choose the right grit sandpaper (start with a finer grit and work your way up)
- Sand the cracked area gently to avoid damaging the healthy paint
- Wipe away sanding dust with a damp cloth
- Check the surface is smooth to the touch
Applying Paint To Fix Cracks
Discover the art of making your car look like new with precision paint application. Let’s dive into the crucial steps for fixing those unsightly paint cracks. Bold steps and accurate layering bring your car back to its glossy best. Time to grab your paint and brushes and follow this easy guide to transform your car’s appearance.
Layering The Paint
Proper paint layering is key to hide cracks effectively. Start with a clean surface to ensure the new paint sticks. Follow these simple steps:
- Apply primer to the cracked area.
- Let it dry completely.
- Add the base coat in thin layers.
- Allow each layer to dry before adding the next.
- Repeat until the surface feels smooth.
Blending For A Seamless Look
The secret to an invisible repair is expert blending. Here’s how to make those cracks vanish:
- Use a fine brush or spray gun.
- Apply the topcoat evenly around the edges.
- Blend outward for a natural transition.
Finish with a clear coat for extra shine and protection. Allow your car’s paint to cure for a durable finish. With patience and precision, you’ll have a repair that’s hard to spot!
Finishing Touches For A Professional Look
The road to a seamless car paint finish is not complete without the Finishing Touches. These final steps ensure your repair blends invisibly with the original paint. A professional look demands attention to detail in the Clear Coat Application and Polishing the Repaired Area. Let’s dive into these crucial final stages.
Clear Coat Application
Applying a clear coat is like putting on the final seal to your masterpiece. It protects the fresh paint and adds that shiny, new-car look.
- Clean the area with a tack cloth to remove dust.
- Mix the clear coat as per instructions.
- Apply several thin layers, allowing each to dry.
- Mist the coat to avoid runs or sags.
- Allow it to cure for the recommended time.
Polishing The Repaired Area
The grand finale, polishing, delivers the smooth, glossy finish we all admire.
- Wet-sand the area with fine-grit sandpaper to smooth out the clear coat.
- Use a polishing compound and a foam pad to buff the surface.
- Work in small sections with a dual-action polisher for an even shine.
- Finish off with a clean microfiber cloth to remove any residue.


Credit: www.amazon.com
Maintaining Paint To Prevent Future Cracks
Car paint crackles and peels for many reasons. One of these is poor maintenance. To keep paint sparkling and crack-free, regular care is the secret. Below are essential tips to keep your car’s coat radiant and resilient.
Regular Washing
Regular cleaning protects your car’s paint. It removes dirt and grime. These cling to your car and damage the paint over time. A clean car is less likely to develop cracks in the paint. Dirt can cause tiny scratches. These scratches grow into cracks. So keeping your car clean means keeping it safe from paint damage.
- Weekly washing: Remove surface contaminants.
- Use car-specific cleaners: Harsh detergents can harm paint.
- Soft cloth or sponge: Avoids scratches while washing.
- Shade wash: Direct sunlight can dry soap quickly, leaving spots.
Applying Protective Wax
After washing, apply a layer of car wax. Wax adds a protective layer against the sun’s UV rays. These rays fade and crack paint over time. Wax also helps your paint repel water and dirt. This means less risk of rust and scratches. Both damage paint. Choose quality car wax. Apply it every three months for best results.
- Select quality wax: Offers better protection.
- Even application: Use a soft cloth for an even coat.
- Circular motion: Helps in absorbing the wax properly.
- Regular reapplication: Keeps the protective layer strong.
Frequently Asked Questions Of How To Fix Cracked Paint On Car
Can Diy Methods Fix Car Paint Cracks?
While minor paint cracks can be addressed with DIY methods, such as employing touch-up paint or a specialized crack-filling product, deeper or more extensive damage often requires professional assistance to ensure a perfect color match and seamless repair.
How Long Does Car Paint Repair Take?
The duration of car paint repair depends on the severity of the damage. Small, simple cracks may be fixed within hours, while larger areas with deep cracks can take several days, especially if complete repainting of the panel is necessary.
What Causes Car Paint To Crack?
Car paint can crack due to various factors including prolonged exposure to sunlight, extreme temperatures, incorrect application of paint layers, or the natural aging process of the vehicle’s paint.
Is Cracked Car Paint A Serious Issue?
Cracked car paint shouldn’t be ignored as it can lead to further damage, such as rusting due to moisture penetration. Prompt repair is recommended to prevent more extensive and costly damage.
Conclusion
Dealing with cracked car paint can seem daunting. But with the right tools and techniques, it’s a task most can tackle. Remember, regular maintenance and swift action keep your vehicle looking pristine. Your ride deserves that fresh, flawless finish. Embrace the challenge and restore your car’s charm!