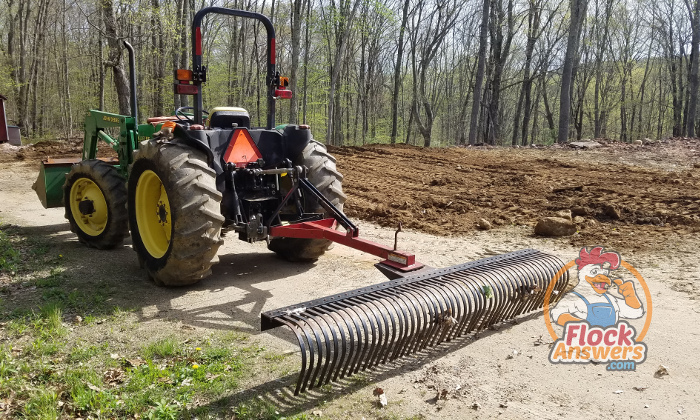
To grade a driveway with a tractor, ensure the area is clear of debris and obstacles. With the tractor, create a slight crown in the middle for drainage to the sides.
Begin by driving the tractor backward to spread the material evenly. Adjust the blade’s height to achieve the desired slope. Compact the surface with the tractor to finish the grading process. Finally, inspect the driveway to ensure a smooth and even surface that promotes proper water runoff.

Credit: www.kenotractors.com
Choosing The Right Equipment
When it comes to grading a driveway with a tractor, choosing the right equipment is crucial to ensure the job is done efficiently and effectively. Consider the Size of the Tractor and Select the Appropriate Grading Attachment to match the specific needs of your project.
Consider The Size Of The Tractor
Before you begin grading your driveway with a tractor, it’s essential to size up the tractor for the task at hand. Ensure that the tractor is appropriately sized for the job by considering its horsepower, weight, and physical dimensions. A tractor that is too small may struggle to handle the workload, while a larger tractor could cause unnecessary damage to the driveway or surrounding landscape.
Select The Appropriate Grading Attachment
Choosing the right grading attachment is crucial for achieving the desired results when grading a driveway with a tractor. Whether you opt for a box blade, land plane, or a rear blade, each attachment serves a specific purpose. Assess the condition and composition of your driveway to determine which attachment will be most effective in achieving a smooth, even surface.

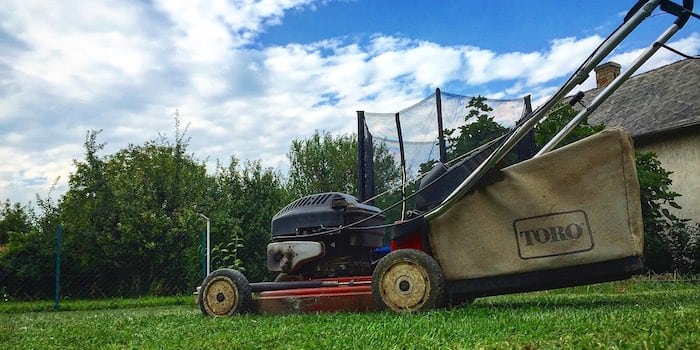
Credit: www.hobbyfarms.com
Preparing The Driveway
When preparing your driveway before grading it with a tractor, it’s essential to tackle key tasks that can impact the overall outcome of the grading process. The first steps involve clearing the driveway of debris and addressing any drainage issues present.
Clear The Driveway Of Debris
Before grading your driveway, remove any large rocks, branches, or other debris that may hinder the grading process. This ensures a smooth surface for the tractor to work on, preventing any potential damage or obstructions during grading.
Identify And Address Drainage Issues
Check for any drainage problems on your driveway, such as standing water or poor runoff. Correcting these issues before grading can prevent future erosion and damage to the driveway’s surface once it’s been graded. Ensure that water flows away from the driveway to avoid future complications.
Setting The Grade
When setting the grade for a driveway using a tractor, ensuring the correct slope is crucial for proper drainage and functionality.
Determine The Desired Slope
Identify the ideal level of slope for your driveway based on the terrain and local regulations.
Mark The Reference Points
Set clear reference points at the beginning and end of the driveway using stakes or markers.

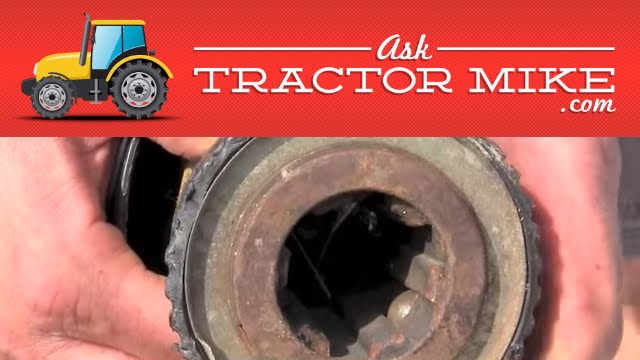
Credit: m.youtube.com
Grading Techniques
Grading a driveway with a tractor requires specific techniques to ensure a smooth and even finish. Proper grading enhances drainage and increases the longevity of the driveway. Here, we’ll discuss essential grading techniques to achieve the best results.
Start From The Center And Work Outward

When grading a driveway with a tractor, it’s crucial to start from the center and work outward. This technique ensures that the surface is consistently level and inclined towards the edges, promoting efficient water runoff. Beginning from the center allows for better control over the grading process, resulting in a more uniform surface.
Use Overlapping Passes
Overlapping passes with the tractor blade is another essential technique for effective driveway grading. By making overlapping passes, the soil is evenly distributed across the entire surface, minimizing potential low spots. This approach ensures thorough coverage and compaction, creating a stable foundation for the driveway.
Finishing Touches
Now that you’ve filled in the low spots and created a smooth surface for your driveway, it’s time to focus on the final steps to ensure a professional-looking result. With these finishing touches, your newly graded driveway will not only be functional but also visually appealing. Here are the key steps to follow:
Fill In Low Spots
Inspect your driveway carefully and locate any remaining low spots that may still affect its smoothness. Fill these areas in with additional gravel or soil to bring them level with the rest of the driveway. Use a shovel or rake to distribute the material evenly, ensuring a consistent surface. Take your time to achieve a seamless transition between the filled areas and the rest of the driveway.
Create A Smooth Surface
Go over the entire driveway once again with your tractor, making sure to smooth out any remaining bumps or uneven sections. This step is crucial for both the functionality and aesthetics of your driveway. Pay close attention to any areas that may have received more material during previous grading, as they may require extra attention.
If necessary, use a drag or a chain harrow attachment for your tractor to further flatten the surface and eliminate any minor imperfections. This will help create a smooth, level driveway that is pleasant to drive on and visually appealing.
Throughout the process, be sure to take breaks and step back to assess your progress. This will allow you to identify any areas that need extra attention and ensure that your driveway is perfectly graded.
By filling in low spots and creating a smooth surface, you can achieve a well-graded driveway that not only enhances the functionality and accessibility of your property but also adds value to your overall curb appeal. Follow these steps carefully, take your time, and enjoy the results of your hard work.
Frequently Asked Questions On How To Grade A Driveway With A Tractor
Can You Grade With A Tractor?
Yes, you can grade with a tractor. Tractors are commonly used for leveling and smoothing surfaces, such as roads or fields, by attaching a grading blade to the back of the tractor.
What Is The Best Tool To Grade A Driveway?
The best tool to grade a driveway is a driveway grader, which is a heavy-duty piece of equipment designed specifically for leveling and smoothing driveways. It is efficient, effective, and can be easily operated by homeowners or professionals. Regular grading helps to maintain a smooth and level surface for safe driving and parking.
How Do I Grade My Own Driveway?
To grade your own driveway, you’ll need a grading rake, string level, and stakes. Start by removing debris, marking desired grade, and then leveling the surface. Compact the soil and add a gravel base for better results. Regular maintenance will ensure a smooth driveway surface.
How Do You Level Ground With A Tractor?
To level ground with a tractor, attach a land-leveling implement to the back and adjust the height. Drive the tractor back and forth until the ground is smooth and even.
Conclusion
Grading a driveway with a tractor is a manageable task that requires careful planning and execution. By following the steps outlined in this guide, you can ensure that your driveway is properly graded to prevent water pooling and erosion. Remember to prioritize safety and seek professional help if needed.
With the right approach, your driveway will be smooth and well-maintained for years to come.
- How to Test Ac Compressor Clutch: Mastering the Ultimate AC Diagnosis - May 17, 2024
- How Does Water Infiltrate a Jet Ski Engine? - May 17, 2024
- How to Master Code Reading with Autozone’s Reader: Unlock Your Car’s Secrets - May 17, 2024