
To wire glow plugs to a push button, follow these steps: connect one terminal of the push button to the ignition switch and the other terminal to the glow plug relay. Then, connect the supply wire from the ignition switch to the positive terminal of the battery and the negative terminal of the battery to the glow plug relay.
Finally, connect the glow plugs to the relay and ensure that all connections are secure. This will allow you to activate the glow plugs with the push of a button. When it comes to wiring glow plugs to a push button, it is important to follow the proper steps to ensure a successful and efficient connection.
By connecting the push button to the ignition switch and glow plug relay, as well as making the necessary battery connections, you can easily activate the glow plugs whenever needed. We will cover the step-by-step process of wiring glow plugs to a push button, allowing you to have control over the activation of your vehicle’s glow plugs.
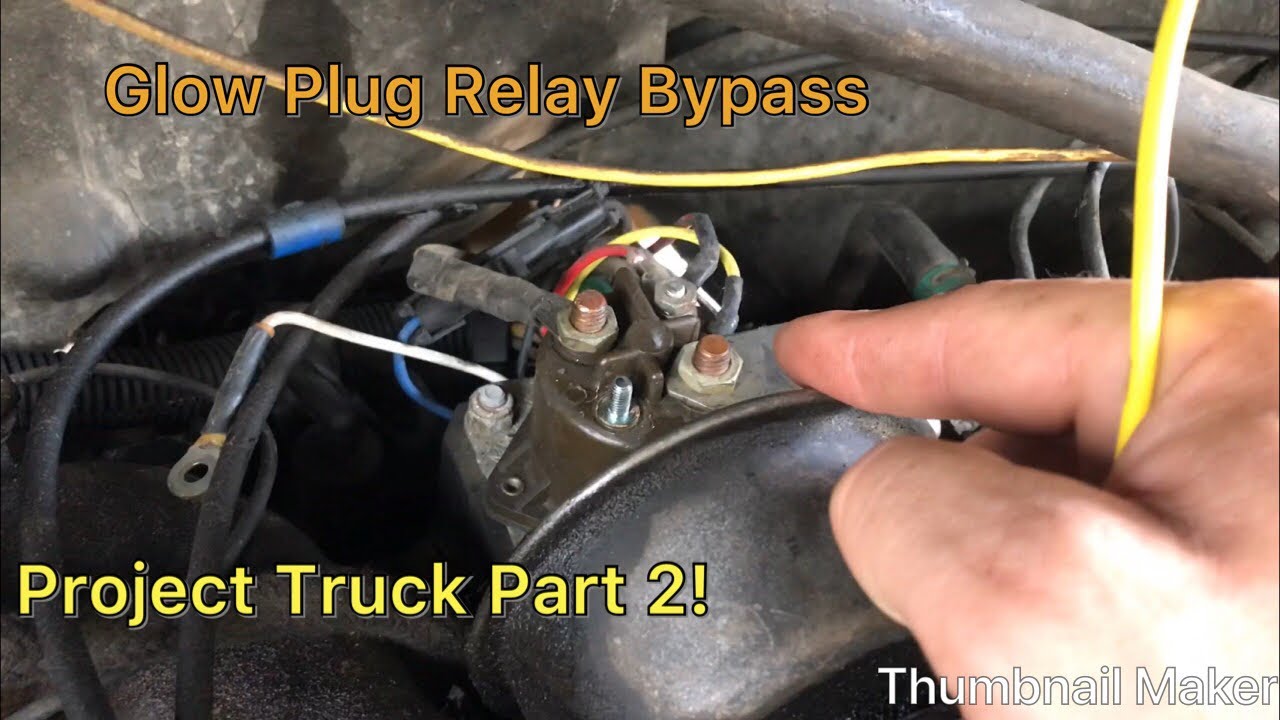
Credit: www.youtube.com
Understanding Glow Plugs And Their Importance
What Are Glow Plugs?
Glow plugs are an essential component of diesel engines. They function similarly to spark plugs in gasoline engines, but instead of generating a spark, they produce heat. This heat is used to ignite the fuel-air mixture in the engine’s combustion chamber.
Here are the key points about glow plugs:
- Glow plugs are small devices that are inserted into the engine’s cylinder head.
- They are made of a heating element, usually a coil or a ceramic rod, that heats up when an electrical current passes through.
- The heat generated by the glow plug helps in the combustion process by preheating the air in the cylinder.
- Glow plugs are primarily used in cold weather conditions or when starting a cold engine. Cold engines require a higher temperature to ignite the fuel, and glow plugs provide the necessary heat.
- Once the engine is running, the glow plugs are no longer needed as the heat from the combustion process is enough to keep the engine running smoothly.
Importance Of Properly Functioning Glow Plugs
Properly functioning glow plugs are crucial for the efficient operation of a diesel engine. Here’s why they are important:
- Starting a cold engine: In cold weather, diesel engines can be challenging to start due to the low temperature’s effect on the fuel-air mixture. Glow plugs help raise the temperature in the combustion chamber, making it easier for the engine to start.
- Reduced emissions: When a diesel engine struggles to start, it can lead to incomplete combustion, resulting in higher emissions. With functioning glow plugs, the engine starts smoothly, promoting more efficient combustion and lower emissions.
- Smooth engine operation: Glow plugs play a vital role in the initial stages of engine ignition. Without them, cold starts can be rough, causing engine vibrations and an overall unpleasant driving experience.
- Fuel efficiency: When a diesel engine starts quickly and runs smoothly, it operates more efficiently. Properly functioning glow plugs ensure optimal fuel combustion, reducing fuel wastage and improving overall fuel economy.
- Engine longevity: Cold starts without the help of glow plugs put additional stress on the engine components. By preheating the combustion chamber, glow plugs reduce the strain on the engine, increasing its lifespan.
A Brief Explanation Of How Glow Plugs Work
Glow plugs operate through a simple process that ensures efficient fuel combustion in a diesel engine. Here’s a brief explanation of how they work:
- When the ignition key is turned on, a signal is sent to the glow plug controller.
- The controller activates a relay that sends an electrical current to the glow plugs.
- Once the current reaches the glow plugs, they begin to heat up.
- The heating element inside the glow plugs reaches temperatures of over 1000 degrees fahrenheit, depending on the engine design.
- As the glow plugs heat up, they transfer heat to the surrounding air inside the engine’s combustion chamber.
- This preheated air raises the temperature, making it easier for the diesel fuel to ignite upon injection.
- Once the engine starts running and reaches normal operating temperatures, the glow plug controller turns off the current to the glow plugs as they are no longer needed.
Glow plugs are essential for cold start assistance, reduced emissions, smooth engine operation, fuel efficiency, and engine longevity. Understanding their function and ensuring their proper operation is crucial for the optimal performance of a diesel engine.
Gathering The Necessary Tools And Equipment
Essential Tools For Wiring Glow Plugs To A Push Button:
When it comes to wiring glow plugs to a push button, having the right tools is essential. To ensure a smooth and successful installation process, make sure you have the following tools on hand:
- Wire strippers: These will come in handy for removing insulation from the wires and ensuring a clean connection.
- Soldering iron: A soldering iron is necessary for securely connecting the wires and ensuring a steady flow of electricity.
- Electrical tape: This will be used to insulate and protect the connections from moisture and damage.
- Multimeter: A multimeter helps to test the electrical connections and ensure they are functioning correctly.
- Screwdriver: Depending on your vehicle’s make and model, you may need a screwdriver to remove panels or access the glow plugs.
- Heat shrink tubing: Heat shrink tubing is used to provide added protection and insulation to the wiring connections.
- Wire connectors: Wire connectors or crimp connectors are used to secure the wires together and ensure a reliable connection.
Now that you know the essential tools required, let’s move on to the next step.
Things To Consider When Selecting The Push Button:
Selecting the right push button is crucial to ensure easy operation and proper functionality. Here are some key points to consider:
- Voltage rating: Make sure the push button is rated for the voltage of your vehicle’s electrical system.
- Current rating: Check the push button’s current rating to ensure it can handle the load required for the glow plugs.
- Style and size: Consider the design and size of the push button, ensuring it fits well within your vehicle’s interior and is easily accessible for use.
- Waterproof or weatherproof: If you live in an area with harsh weather conditions, opt for a push button that is waterproof or weatherproof to prevent damage.
- Illuminated or non-illuminated: Decide whether you prefer a push button that lights up when activated or a non-illuminated one for a simpler look.
Taking these factors into account will help you select the perfect push button for your glow plug wiring project.
Other Materials Needed To Complete The Wiring Process:
In addition to the essential tools mentioned earlier, you will also need a few other materials to complete the wiring process. These include:
- Electrical wire: Ensure you have enough wire to connect the glow plugs to the push button and the power source.
- Heat-resistant wire loom: To protect the wires from extreme temperatures and potential damage, use heat-resistant wire loom to cover the exposed sections.
- Terminal connectors: Terminal connectors are required to securely attach the wires to the push button and glow plugs.
- Electrical connectors: Pick up some electrical connectors to make the wiring connections clean and organized.
- Zip ties: Use zip ties to secure the wires and prevent them from dangling or interfering with other components.
By gathering these materials beforehand, you will have everything you need to successfully wire your glow plugs to a push button. Remember to follow safety precautions and refer to your vehicle’s wiring diagram for accurate connections.
Step-By-Step Guide To Wiring Glow Plugs To A Push Button
Safety Precautions Before Starting The Wiring Process
Before you begin wiring your glow plugs to a push button, it is crucial to take some safety precautions to prevent any accidents or damage. Here are the key points to keep in mind:
- Make sure you are well-informed about the electrical system and wiring procedures involved.
- Always wear appropriate personal protective equipment (ppe) such as safety goggles and gloves.
- Ensure that the vehicle’s ignition is turned off and the battery is disconnected before starting any work to avoid electrical shocks.
- Double-check the wire connections to ensure there are no loose or exposed wires.
- Take extra care while handling the glow plugs and make sure the engine has cooled down to avoid burning yourself.
Preparing The Glow Plugs For Wiring
Before you can wire the glow plugs to a push button, you need to prepare the glow plugs for installation. Here’s what you need to do:
- Identify the location of the glow plugs in your vehicle’s engine.
- Remove any obstructions that may hinder your access to the glow plugs.
- Carefully disconnect the existing wiring connections to the glow plugs.
- Inspect the glow plugs for any signs of damage or wear and tear. Replace them if necessary.
- Clean the glow plugs and the surrounding area to ensure a clean and secure connection.
Connecting The Glow Plugs To The Push Button
Once you have prepared the glow plugs, it’s time to connect them to the push button. Here’s a step-by-step guide:
- Identify a suitable location to mount the push button within easy reach.
- Strip the ends of the wires connected to the glow plugs and the push button.
- Connect one end of the wire from each glow plug to a common terminal on the push button.
- Connect the other end of each glow plug wire to a separate terminal on the push button.
- Secure the wire connections with electrical tape or heat shrink tubing to prevent them from coming loose.
- Ensure that the wires are properly routed and organized to avoid any interference with other engine components.

Proper Placement And Positioning Of Wires
To ensure efficient wiring of the glow plugs to the push button, it’s essential to pay attention to proper placement and positioning of the wires. Here’s what you need to consider:
- Route the wires away from hot engine components and moving parts to prevent damage.
- Keep the wires away from areas prone to moisture or excessive vibrations.
- Use zip ties or wire clips to secure the wires in place and prevent them from chafing or getting tangled.
- Maintain an organized and tidy wiring layout to make troubleshooting and future modifications easier.
- Position the push button in a convenient and accessible location to ensure easy operation.
Ensuring Secure Connections
To ensure the proper functioning of the wired glow plugs, it is crucial to ensure secure connections. Here’s how you can do it:
- Double-check all wire connections to ensure they are tight and properly attached to their respective terminals on the glow plugs and push button.
- Use electrical tape or heat shrink tubing to insulate and protect the connections from moisture and dirt.
- Perform a visual inspection of all connections to ensure there are no exposed wires or loose connections.
- Test the connections by gently tugging on the wires to ensure they are secure.
- If necessary, use a multimeter to measure the continuity of the connections and verify their integrity.
Testing The Wired Glow Plugs
After completing the wiring process, it is essential to test the functioning of the newly wired glow plugs. Here’s what you need to do:
- Reconnect the vehicle’s battery and turn on the ignition.
- Depress the push button to activate the glow plugs and observe if they heat up properly.
- Make sure that each glow plug receives power and functions as intended.
- Monitor the glow plugs for any signs of overheating, abnormal behavior, or malfunctioning.
- Conduct a test drive to ensure that the glow plugs work correctly in starting the engine during cold conditions.
Remember, proper wiring of glow plugs to a push button can significantly improve the performance and reliability of your vehicle, especially in cold weather conditions. By following this step-by-step guide and taking the necessary safety precautions, you can successfully wire your glow plugs to a push button and enjoy hassle-free starting.
Troubleshooting Common Issues
Identifying Potential Problems With The Wiring

When it comes to wiring glow plugs to a push button, there are a few common issues that can arise. Identifying these problems is essential to ensure your glow plug system functions properly. Here are some key points to consider:
- Loose connections: One of the most common issues is loose connections in the wiring. This can result in a weak or intermittent electrical connection. To identify this problem, check all connections and make sure they are securely fastened.
- Damaged wiring: Another potential issue is damaged wiring. This can occur due to wear and tear or external factors such as rodents chewing on the wires. Inspect the wiring for any signs of damage, such as frayed or exposed wires.
- Faulty switches: The push button switch itself can sometimes be the culprit. If the switch is malfunctioning, it may not provide a consistent electrical connection to the glow plugs. Test the switch by pressing it several times and observe if it activates the glow plugs each time.
Solutions For Issues Like Loose Connections Or Malfunctioning Glow Plugs
Once you have identified the potential problems with the wiring, it’s time to find solutions. Here are some ways you can address issues like loose connections or malfunctioning glow plugs:
- Tighten connections: If you find loose connections, tighten them securely to ensure a strong electrical connection. This can be done using a wrench or pliers, depending on the type of connection.
- Repair or replace damaged wiring: If the wiring is damaged, it may need to be repaired or replaced. This can involve splicing in a new section of wire or replacing the entire wire if necessary. Use electrical tape or wire connectors to secure the repaired or replaced section.
- Test and replace faulty switches: If the push button switch is faulty, it may need to be replaced. Before replacing it, however, test it with a multimeter to confirm the issue. If the switch is indeed malfunctioning, disconnect the wiring and replace it with a new switch.
Tips For Preventing Future Problems
To prevent future problems with the wiring of your glow plugs, here are some helpful tips to keep in mind:
- Regular maintenance: Perform regular maintenance checks on your glow plug system, including inspecting the wiring, connections, and switches. This will help you catch any issues before they worsen.
- Protect wiring: Protect the wiring from external factors that can cause damage. Secure the wires away from areas prone to rodents, and consider using protective conduit or tubing if necessary.
- Use quality components: When wiring glow plugs to a push button, it’s important to use high-quality components that are designed for the job. This will ensure better performance and longevity.
- Follow manufacturer instructions: Always follow the manufacturer’s instructions when installing and wiring your glow plugs. This will help you avoid common mistakes and ensure proper functioning.
By following these troubleshooting tips and taking the necessary preventive measures, you can ensure that your glow plug system operates smoothly and effectively.
Frequently Asked Questions (Faqs)
Can Any Push Button Be Used For Wiring Glow Plugs?
When it comes to wiring glow plugs to a push button, it’s important to choose the right push button for the job. Here are the key points to keep in mind:
- The push button should be rated for the voltage and current required by the glow plugs. Check the specifications of the glow plugs and choose a push button that can handle the same voltage and current.
- The push button should have a suitable housing that can withstand the environment in which it will be installed. Consider factors like temperature, moisture, and exposure to chemicals.
- It’s recommended to choose a push button with a momentary action, meaning it makes contact only as long as it is being pressed. This ensures that the glow plugs will only be activated for the necessary amount of time.
How Long Does It Take To Wire Glow Plugs To A Push Button?
The time it takes to wire glow plugs to a push button can vary depending on your level of experience and the complexity of your vehicle’s electrical system. Here are a few things to consider:
- If you have the necessary tools and knowledge of automotive electrical systems, the process can take anywhere from 1 to 3 hours.
- If you are not familiar with electrical work or unsure about the wiring process, it’s recommended to seek professional help. They have the expertise and tools to ensure proper installation.
- Keep in mind that additional time may be required if you encounter any complications or need to troubleshoot any issues during the installation process.
Can I Wire Glow Plugs To A Push Button Myself, Or Do I Need Professional Help?
Whether you can wire glow plugs to a push button yourself or require professional help depends on your level of expertise and confidence in handling electrical work. Here are some points to consider:
- If you have experience with automotive electrical systems and feel comfortable working with wiring and electrical components, you may be able to wire the glow plugs to a push button on your own.
- However, it’s important to have a good understanding of electrical safety and follow proper procedures to avoid any hazards or damage to your vehicle.
- If you are not familiar with electrical work or are unsure about the process, it’s highly recommended to seek professional help. They have the knowledge, experience, and tools to ensure a safe and proper installation.
Remember, when it comes to electrical work, safety should always be the top priority. If you’re unsure, it’s best to seek professional assistance to ensure the job is done correctly and safely.
Frequently Asked Questions Of How To Wire Glow Plugs To A Push Button
How Do You Wire Glow Plugs To A Push Button?
To wire glow plugs to a push button, connect the positive terminal to the switch and the negative terminal to the engine ground.
What Are The Benefits Of Wiring Glow Plugs To A Push Button?
Wiring glow plugs to a push button allows you to manually control the preheating process, ensuring better engine performance and easier cold starts.
Can I Wire Glow Plugs Directly To The Battery?
Yes, you can wire glow plugs directly to the battery, but it is recommended to use a push button for better control and to prevent excessive preheating.
How Long Do I Need To Preheat The Glow Plugs?
The preheating time for glow plugs varies depending on the engine and temperature. Typically, preheating for 5-10 seconds is sufficient.
What Happens If You Don’T Preheat Glow Plugs?
If you don’t preheat glow plugs, it can result in difficulty starting the engine and potentially cause damage to the glow plugs and other engine components.
Conclusion
To sum up, wiring glow plugs to a push button can be a simple and effective solution for those facing issues with their vehicle’s starting system. By following the step-by-step instructions in this blog post, you can confidently tackle the process yourself.
Remember to gather the necessary tools and materials beforehand, ensuring a smooth installation. Properly connecting the wiring and testing the system for functionality are crucial steps to ensure successful results. Additionally, it is important to prioritize safety throughout the process by disconnecting the battery and using the appropriate protective gear.
Once completed, you can enjoy the convenience and reliability of being able to start your vehicle with the push of a button. With a little patience and attention to detail, you can easily wire your glow plugs and improve your vehicle’s starting performance.