Did you know that coincidentally, your car's brakes may need some attention? Whether you're a seasoned DIYer or just looking to save some money, knowing a few brake repair hacks can come in handy. From replacing brake pads to cleaning brake calipers, there are some simple tricks you can try yourself.
But which ones are the best? In this discussion, we will explore four of the top brake repair hacks that can help you maintain the safety and reliability of your car's braking system.
So, let's dive in and discover how you can keep your brakes in tip-top shape.
Key Takeaways
- Regular brake maintenance is crucial for optimal performance and safety.
- Brake pad replacement, brake fluid flush, brake rotor resurfacing, and brake caliper cleaning are essential tasks in DIY brake repair.
- Regular cleaning and lubrication of brake calipers can prevent malfunctioning and seizing.
- Performing these maintenance tasks regularly can extend the lifespan of your braking system.
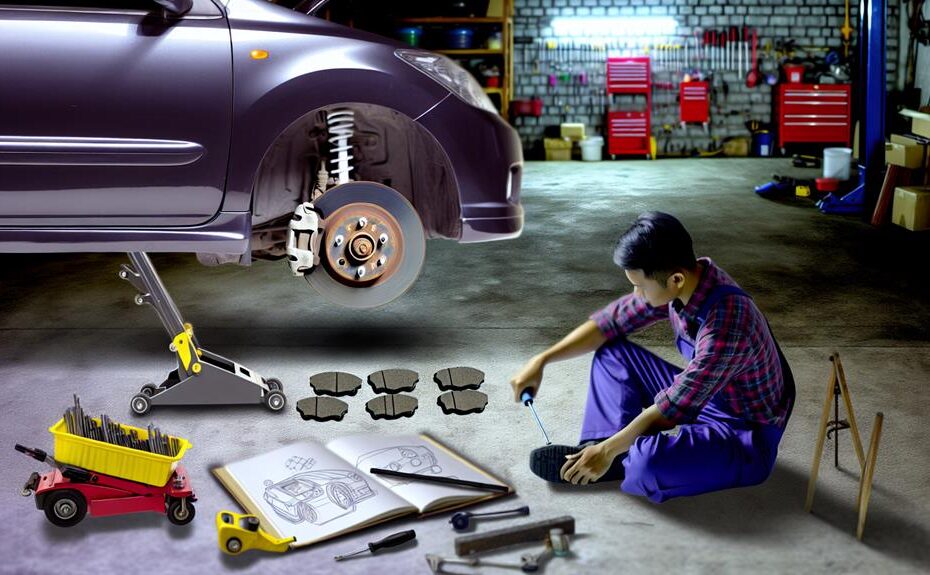
Brake Pad Replacement
To begin replacing your brake pads, you'll need to gather the necessary tools and materials and ensure that you have a suitable working environment.
The first step is to inspect your brake pads for any signs of wear or damage. Start by removing the wheel on the side you wish to work on. Once the wheel is off, you'll have clear access to the brake caliper assembly. Take note of the position of the brake pads and how they're held in place.
Next, using a suitable tool, gently pry the brake pads away from the caliper. Inspect the brake pads for any signs of uneven wear, excessive thickness, or damage. If any of these issues are present, it's crucial to replace the brake pads.

Once you have inspected the brake pads and determined that they need to be replaced, proceed with the brake pad installation. Carefully slide the new brake pads into the caliper, ensuring that they're properly aligned.
Brake Fluid Flush
After successfully replacing your brake pads, the next important step in maintaining your braking system is performing a brake fluid flush. Brake fluid is a crucial component of your braking system as it transfers the force from your foot to the brake calipers, enabling your vehicle to come to a stop. Over time, brake fluid can become contaminated with moisture, dirt, and debris, leading to reduced braking performance.
To perform a brake fluid flush, you'll need a few tools and materials, including a container to collect the old fluid, a wrench to open the bleeder valves, and fresh brake fluid. Start by locating the brake bleeder valves, usually found on the brake calipers or wheel cylinders. Attach a clear plastic tube to the valve and immerse the other end in the collection container. Open the valve and have a helper press the brake pedal slowly and steadily. As they press the pedal, you'll see the old fluid being expelled through the tube.
Continue this process until the fluid runs clear and free from any air bubbles. Remember to monitor the brake fluid reservoir during the flush and refill it with fresh fluid as needed. Signs of brake fluid contamination include a dark or milky appearance, reduced braking performance, or a spongy brake pedal feel.
Performing a brake fluid flush regularly, typically every two years, will help maintain the integrity of your braking system and ensure optimal performance and safety on the road.
Brake Rotor Resurfacing
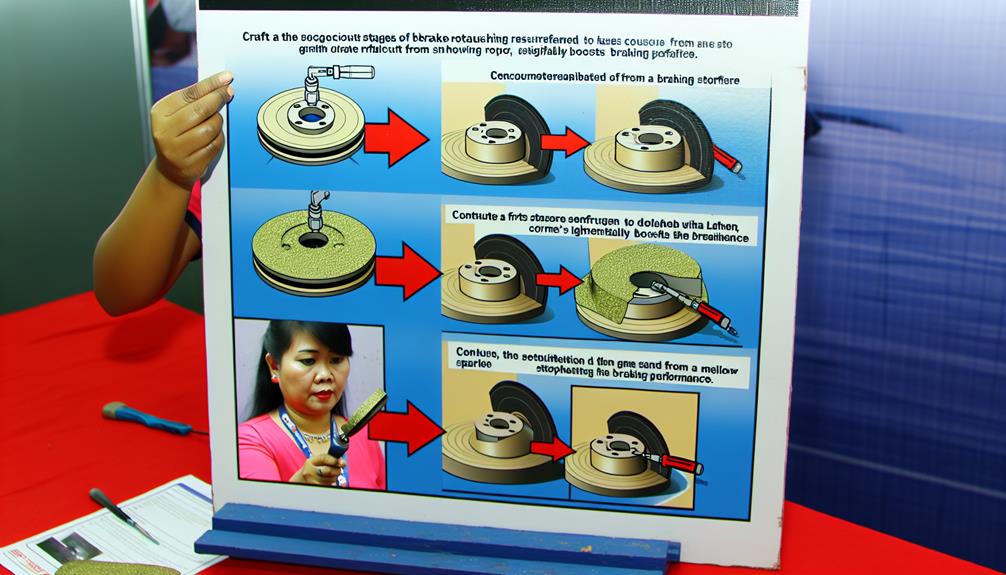
You can resurface your brake rotors to restore their smooth and even surface, improving braking performance and extending their lifespan. Brake rotor resurfacing is a cost-effective alternative to brake rotor replacement, as long as the rotors are still within their minimum thickness specification.
Before resurfacing, it's essential to inspect the brake rotors thoroughly to ensure they're suitable for resurfacing. To begin, remove the brake rotors from the vehicle and clean them thoroughly using a brake cleaner. This will remove any dirt, debris, or brake pad material that may be present on the rotor surface.
Next, measure the thickness of the rotors using a micrometer. If the rotor thickness is within the manufacturer's recommended specifications, you can proceed with resurfacing. Using a brake lathe, carefully remove a thin layer of material from the rotor surface. This process eliminates any irregularities, such as grooves or scoring, that may have developed over time. The lathe will create a smooth and even surface, allowing the brake pads to make consistent contact with the rotor during braking.
After resurfacing, it's crucial to clean the rotors again to remove any metal particles or debris left behind. Once cleaned, reinstall the rotors onto the vehicle and ensure they're properly torqued to the manufacturer's specifications.
Brake Caliper Cleaning
Consider cleaning the brake calipers thoroughly to ensure optimal performance and longevity of your brake system. Regular maintenance and cleaning of the brake calipers can prevent them from seizing up or malfunctioning, which can lead to brake failure. In addition to cleaning, it's also important to inspect the brake caliper pistons and lubricate them properly. This will help to ensure smooth movement and efficient braking.
When cleaning the brake calipers, follow these steps:
- Remove the wheels and brake pads.
- Use a brake cleaner spray to remove dirt, grease, and brake dust from the calipers. Be sure to wear gloves and eye protection during this process.
- Use a wire brush to scrub away any stubborn debris or rust.
- Inspect the brake caliper pistons for any signs of damage or wear. Look for cracks, corrosion, or leaking brake fluid.
- If necessary, lubricate the brake caliper pistons using a high-temperature brake caliper grease. Apply a thin layer of grease to the piston seals and the piston itself.
- Reassemble the brake calipers, pads, and wheels.
Regular cleaning and lubrication of the brake calipers will help to ensure that your brake system performs optimally and lasts longer. It's an essential part of brake maintenance that shouldn't be overlooked.
Frequently Asked Questions
How Often Do Brake Pads Need to Be Replaced?
You should regularly check the wear of your brake pads as they need to be replaced when they are worn out. Signs of worn out brake pads include squealing noises, reduced braking performance, and a thin brake pad material.
Can I Use Any Type of Brake Fluid for a Brake Fluid Flush?
You need to be cautious about using any type of brake fluid for a brake fluid flush. Using the wrong brake fluid can be dangerous and may lead to brake failure. Make sure to use the appropriate brake fluid for your vehicle.
How Long Does It Take to Resurface Brake Rotors?
To resurface brake rotors, it typically takes about 1-2 hours per rotor. Signs of worn brake rotors include vibration, squeaking, or pulsation while braking. It's important to replace them promptly for optimal braking performance.
Is Brake Caliper Cleaning Necessary for Every Brake Repair?
Brake caliper cleaning is an essential step in every brake repair. It ensures proper functioning of the caliper and prevents brake noise and uneven pad wear. Neglecting this step can lead to costly repairs later on.
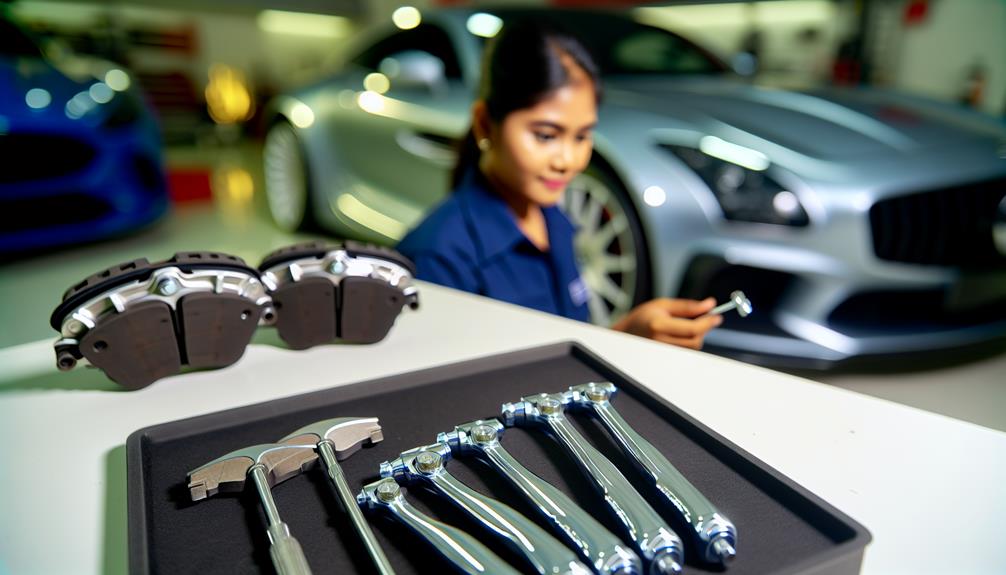
Are There Any Specific Tools Required for Brake Pad Replacement?
To replace brake pads, you'll need a few specific tools: a jack, lug wrench, C-clamp, and a socket set. These tools will make the brake pad installation process smoother and help you save on brake pad replacement costs.
Conclusion
In conclusion, these 4 DIY brake repair hacks provide a cost-effective solution to maintaining your vehicle's braking system.
By replacing brake pads, flushing brake fluid, resurfacing brake rotors, and cleaning brake calipers, you can ensure optimal performance and safety on the road.
With a little technical know-how and attention to detail, you can tackle these repairs confidently and save money in the process.
So why wait? Get started on your brake repair journey today and enjoy a smooth and secure ride.
- How to Diagnose Bad Strut Mounts: Expert Tips for Quick Fixes - May 16, 2024
- How to Bypass Blower Motor Relay: 7 Expert Techniques - May 16, 2024
- How to Easily Check Ecu Ground: Essential Steps for Optimal Performance - May 16, 2024